You’ve got your van insulated, you’ve installed walls, a floor, and a ceiling. Now you need a bed, a van kitchen unit, maybe a bench to sit on. But how, exactly, do you put all of this together?
Whether you’re building furniture or building a custom van interior, there’s always more than one way to do just about anything. And joining two pieces of wood is no different.
Unless you’re already a skilled woodworker with the right tools, many traditional joinery techniques will be out of your reach. But if you use pocket holes you can quickly and easily attach two pieces of wood, and the resulting joint is much stronger than other simple joints.
We used pocket holes to put together most of the furniture in our van, and we highly recommend using them for any van build. Read on to learn more about pocket holes, why they’re awesome, and how to use them.
Why Not Just Use a Butt Joint?
The easiest way to connect two pieces of wood is with a simple butt joint. A butt joint is when you butt the end of one piece of wood up against another and drive nails or screws down into both pieces to hold them together.
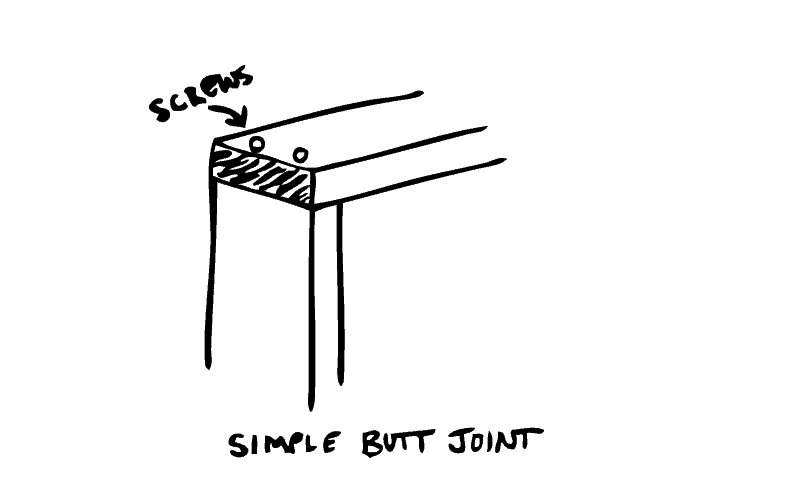
It’s simple and it works, but it’s also very weak. All the strength of the joint relies on screws driven directly into end grain. And because end grain is so porous, it does not hold very well. That means that all your butt joints can’t take much abuse before they come apart.
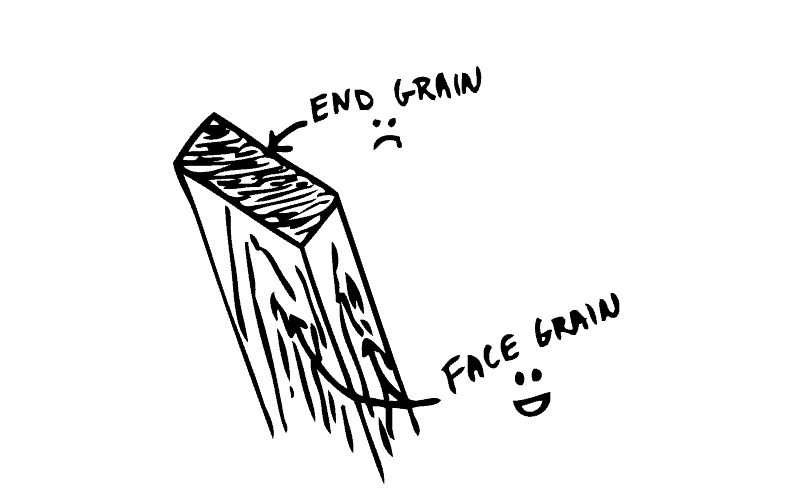
Any time you’re using screws or nails to hold together two pieces of wood, you want to drive your fastener into face grain wherever possible. That’s where pocket holes come in.
Why Pocket Holes are Badass
Pocket hole joints are essentially butt joints, but you use a special jig to drill diagonal holes for your screws. Because you’re driving your screws in at an angle, they’re making contact with face grain rather than end grain, and the hold is much stronger than with a typical butt joint.
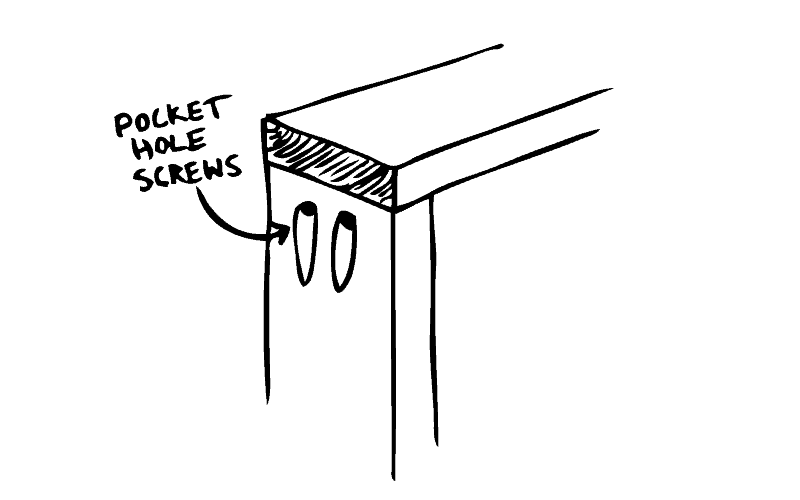
I bought a Kreg Jig pocket hole kit a few years ago when I was building a flip-top storage bench for our living room, and it’s possibly the best $40 I’ve ever spent. I’ve used it to make everything from dining room tables to king-sized beds, and we used it extensively in our van build.
The magic of pocket holes is that they allow you to build stronger, lighter, and better pieces of furniture without using intricate woodworking joints that take time, skill, and specialized tools to make. Why spend hours trying to cut one mortise-and-tenon joint when you could accomplish the same thing in three minutes with a pocket hole jig?
As much as I’m obsessed with all things woodworking, when it comes to a van build I would rather get it done faster and hit the road sooner.
What Tools Do You Need?
First and foremost, you need a Kreg Jig. They have a few different models to check out:
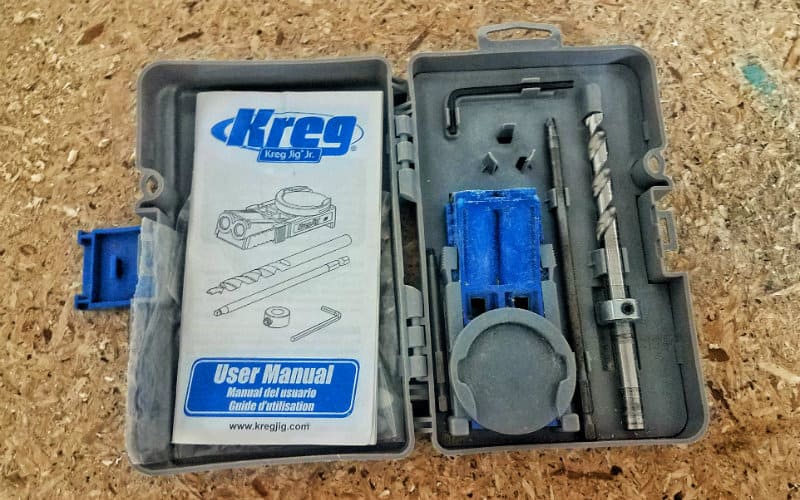
- Best Budget Option: Kreg R3 Jr. Pocket Hole Jig. This kit comes with a two-hole jig and all the drill bits you need, all for about $40. This is a great basic setup, and it’s what I use nearly every day.
- If You Have a Little More to Spend: Kreg Jig K4 Pocket Hole System. For around $100 you get a three-hole drill guide with a built-in clamp, and all the needed drill bits. If you’re doing a lot of pocket holes, this will let you work a whole lot faster than the R3.
- Priciest (and greatest) option: Kreg K5 Pocket Hole Jig. I salivate over this one every time I walk past the Kreg Jig section at Lowe’s. I’ve been waiting for an excuse to buy this for awhile now, and I’m definitely getting one of these when (if) we’re in one place long enough for me to get another shop going. This will run you about $130, and it takes all the great things about the K4 and adds a ratcheting clamp and wide supports.
- Cheapest, but not worth it: Kreg Mini Kreg Jig Kit. Sure, it’s half the price of the R3, but it only lets you drill one hole at a time and it doesn’t come with the bit you need to drive in the screws. You’re better off getting the R3.
Recommended accessory: Kreg Face Clamp. You need some sort of clamp to hold the jig onto your workpieces and to keep them together while you’re driving screws. You can use any old clamp for this, but Kreg’s face clamp is specifically designed for their jigs and is well worth getting.
While they do sell Kreg stuff at Home Depot and Menard’s, Lowe’s is really the place for all things pocket holes. They have a much more extensive collection of jigs, clamps, and screws than anywhere I’ve seen aside from woodworking specialty stores.
Other Tools:
How to Use Pocket Holes in Your Van Build
Pocket holes can come in handy for many different parts of a van build. Here are just some of the ways we used pocket holes to build the furniture and other parts of our van.
Instead of using slabs of heavy ¾” plywood to construct our cabinets and our bench, we used our pocket hole jig to make strong and lightweight frames.
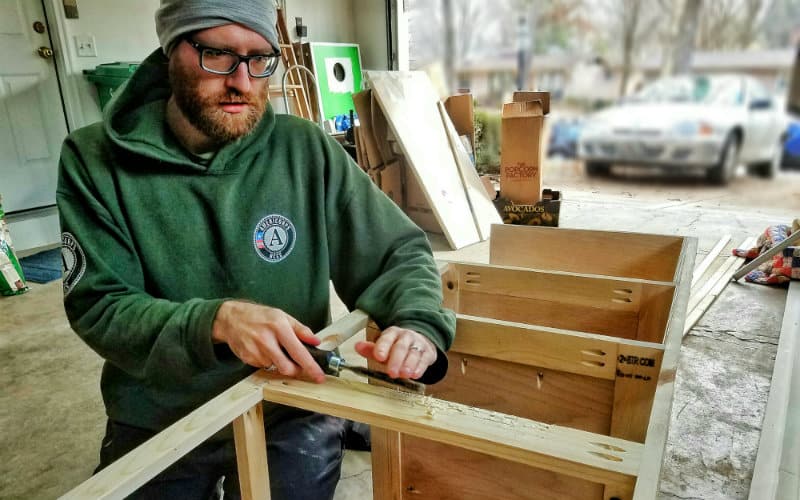
We also used pocket holes to make solid joints where butt joints were needed, like in our bed frame (we used brackets on the other side for increased support).
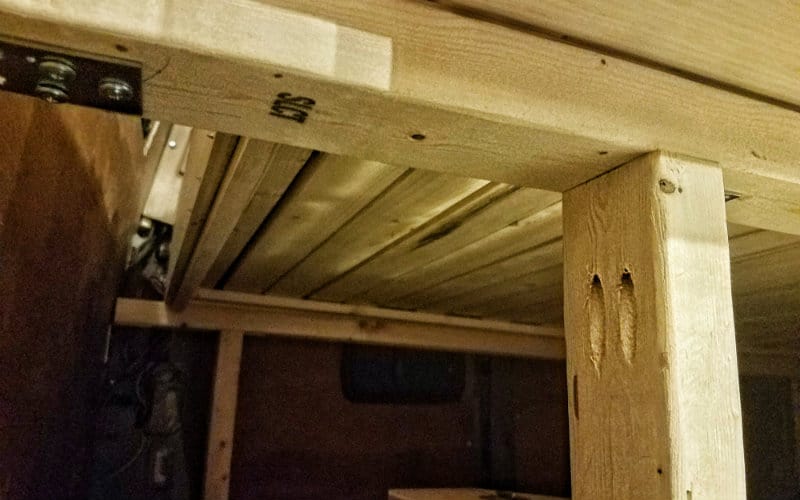
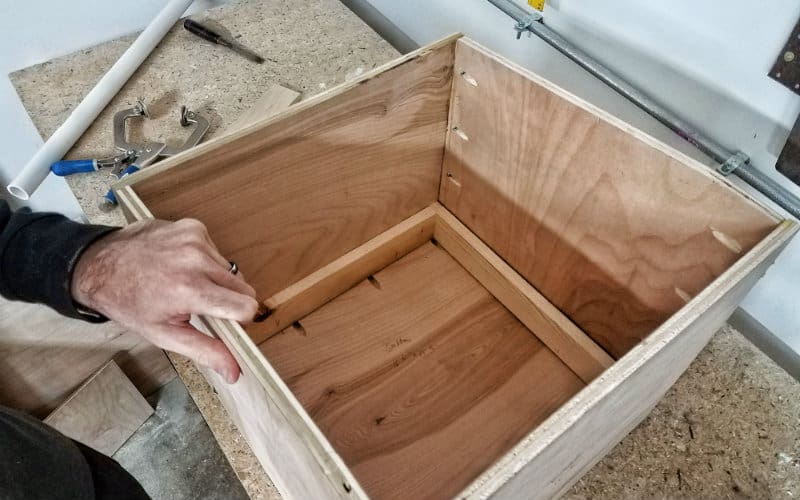
And, we used pocket holes in a few different places to butt-join plywood together at right angles, like when we built our battery box.
Pocket Holes Step-by-Step
The Kreg jig kit includes everything you need to make pocket hole joints. Just pick up some extra screws and you’re good to go.
Step 1: Set the thickness of your material on the Kreg jig.
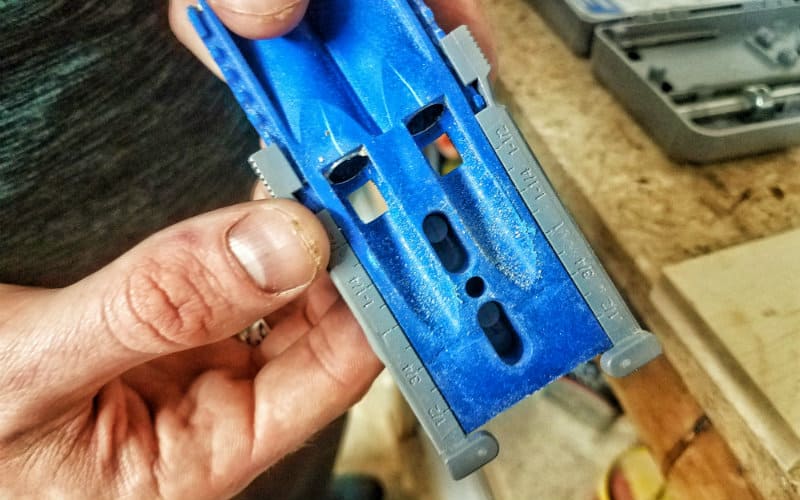
If you’re joining two 1×4’s you would set this at 3/4″. If you’re joining two 2×4’s you would set this at 1-1/2″.
Step 2: Set your material thickness on the drill bit.
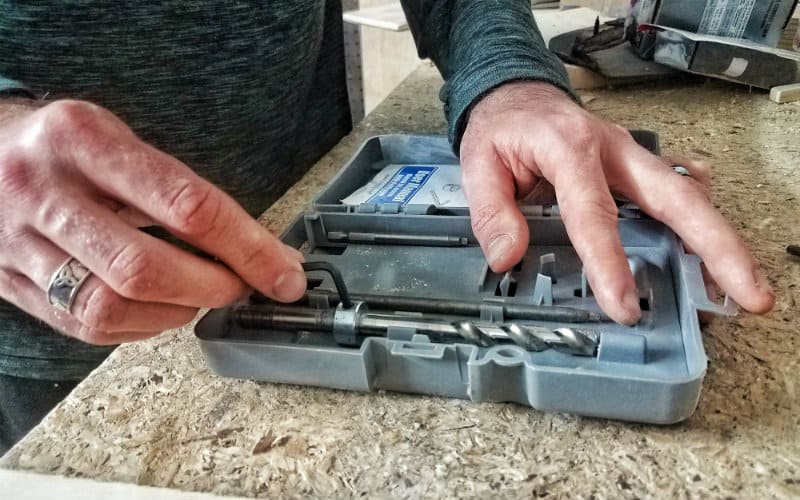
The bit has a little collar that you set in place based on the material thickness. Again, set it at 3/4″ for “1-by’s” (1×4’s, etc.) and set it at 1-1/2″ for “2-by’s” (2×4’s, etc).
Step 3: Place the Kreg jig on the board.
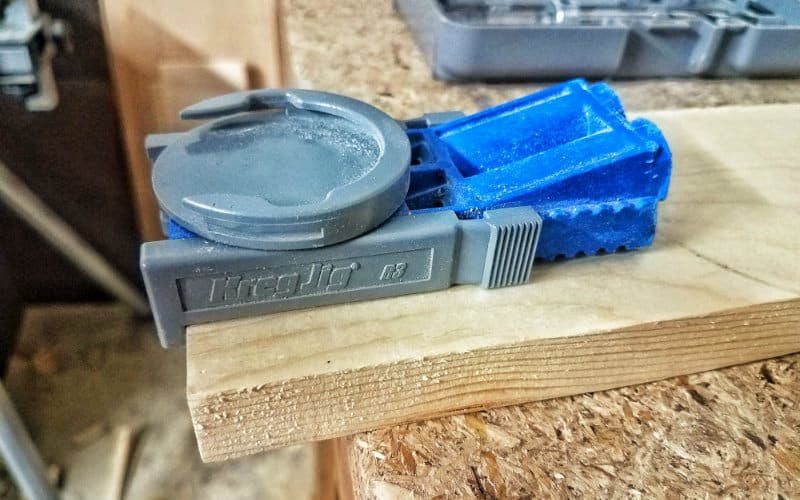
Try to center it as much as possible, and make sure it’s all the way against the end of the board.
Step 4: Clamp the Kreg jig down using a face clamp.
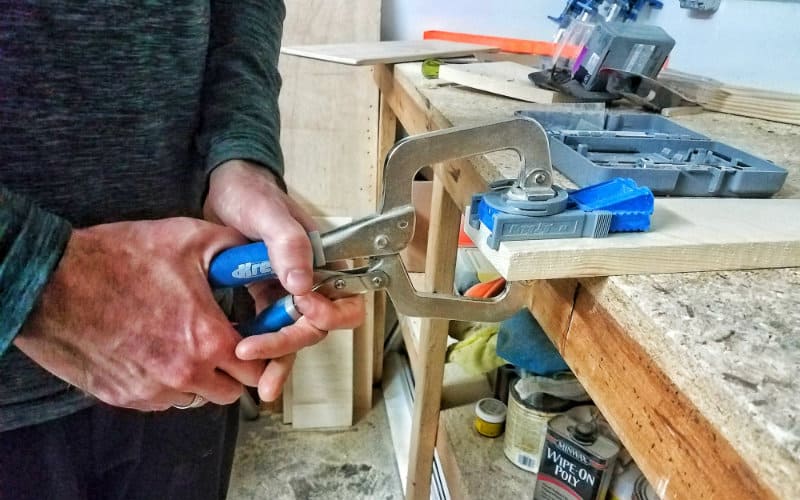
Kreg’s face clamps are made specifically for this purpose and they work great, but you can use any clamp.
Step 5: Drill your holes.
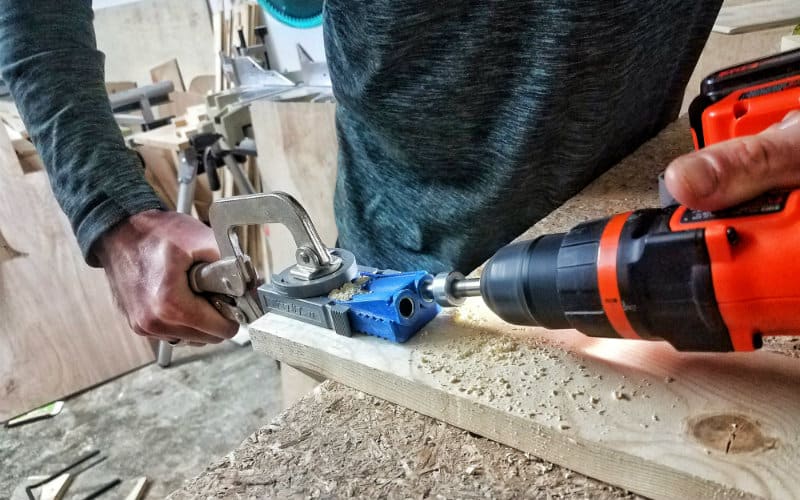
You need at least two holes for a butt joint to prevent the wood from twisting. If you’re joining a really wide piece (like a 1×6 or 1×8) or joining the long edge of a board, it might be a good idea to drill three or more holes.
Step 6: Place your pieces together and clamp.
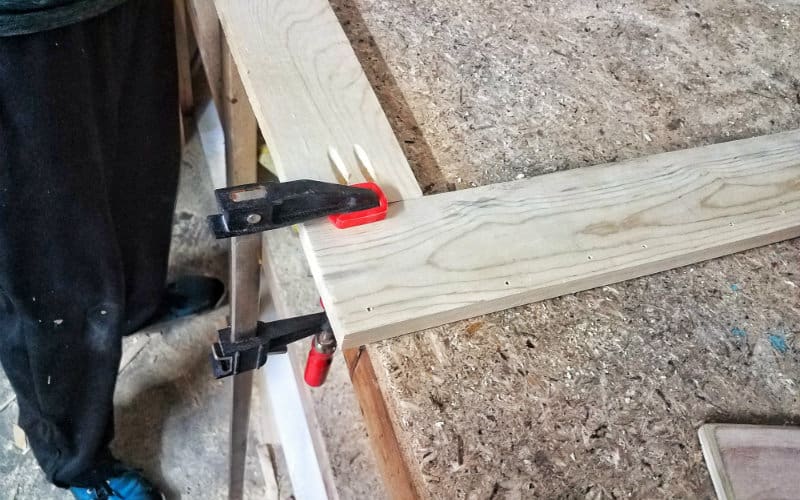
I highly recommend clamping your workpieces down. If you don’t, one of the pieces might rise or move out of position while you’re driving the screws and you’ll end up with a lopsided joint (I learned this the hard way. Several times).
Step 7: Drive in your screws.
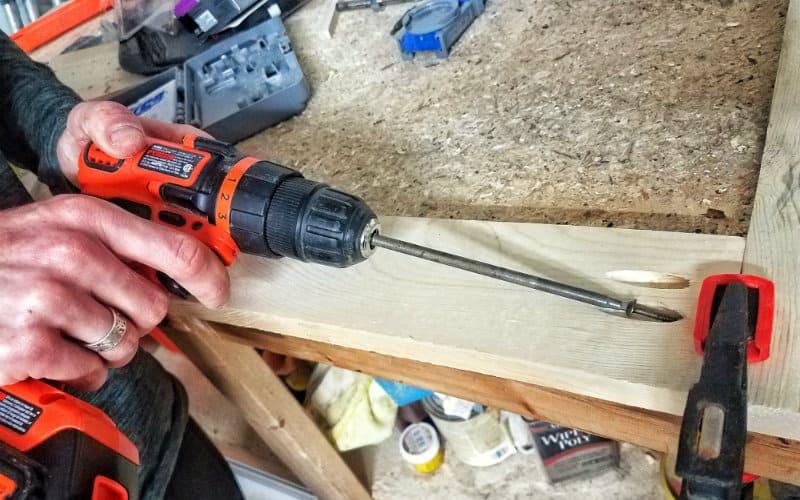
Make sure the boards don’t twist or move out of position while you’re driving the screws. But if you clamped them properly they shouldn’t.
Admire your awesome joint!
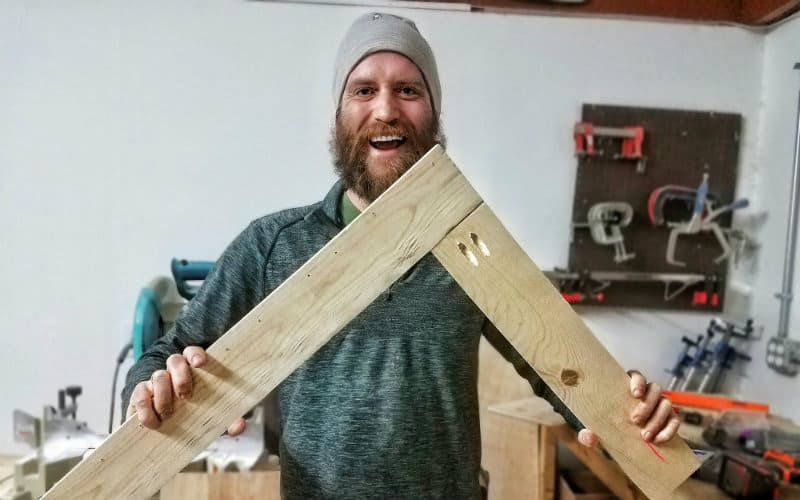
You’ll be surprised how strong and stable these joints are, not to mention lightweight. A pine frame like this is much lighter than a piece of 3/4″ plywood of the same size and has great structural integrity. If you plan it out, you can make it so the holes are only in areas that won’t be visible on the finished piece.
We have some exciting build posts coming up, including how we made our kitchenette and our pull-out bed frame. In the meantime, be sure to follow us on Instagram @gnomad_home and on Facebook at Gnomad Home for more build updates and awesome photos. Cheers!




Thank you.
I just learned everything I needed to know about this to make my own cabs for my Van.
I was thinking of using Ikea cabinets, and actually made the purchase, then returned it because it started falling apart on the first drive.
Time to put on my big boy pants and make my own.
Hi Sig, glad our site has been helpful! We have seen people use pre-made cabinets with success, but road vibrations can definitely do a number on them if they’re cheaply made. Best if luck with your build!
~John
Thanks for this! Glad I saw this before I got too far on my build!
Glad we could help 🙂