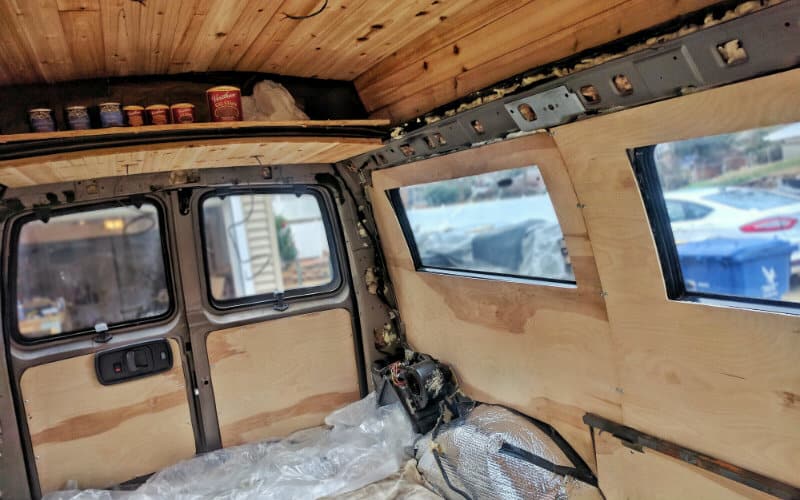
If you’re living in a van, it’s important that it really feels like a home. And for us, there’s nothing more comfortable and homey than having wood lining every surface.
Our birch plywood walls and beautiful cedar plank ceiling looked great right away, but staining and sealing them really brings out the grain patterns and adds some great contrast. In this post we go over how to stain the inside of van.
These quick and easy steps really helped us turn our van from a vehicle filled with wood into a mobile log cabin. Check out our Instagram for a timelapse video of the whole process!
Deciding on Stains
To help create a rustic backwoods feel, we decided to stain the plywood walls one color and use several different colors on the ceiling. This would really bring out the grain patterns and add more contrast between the different cedar planks.
We decided to use gel stain instead of liquid stain. John switched to gel stain for his furniture building awhile ago and never looked back. It’s much easier to work with and there’s hardly any drippage – which is helpful when you’re staining a ceiling.
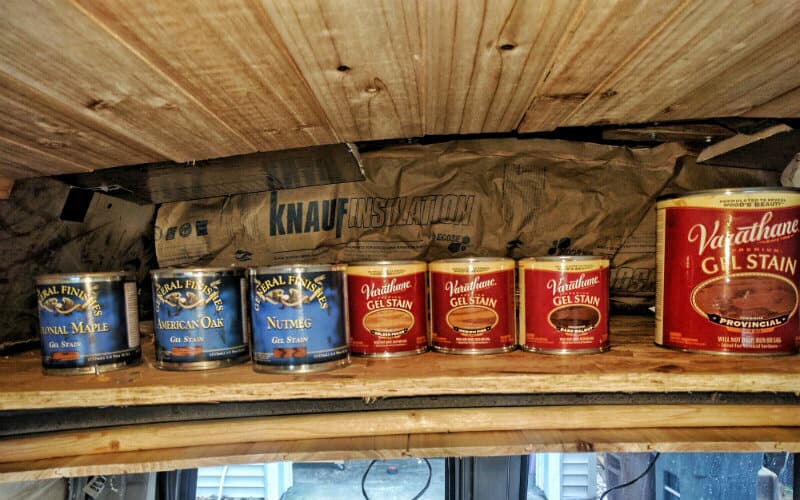
We already had some cans of General Finishes gel stain lying around, and we also picked up a few different colors of Varathane gel stain from good ol’ Menard’s.
How To Stain the Inside of a Van
What We Used to Stain Our Van
Varathane Gel Stains
General Finishes Gel Stains
Other Stuff
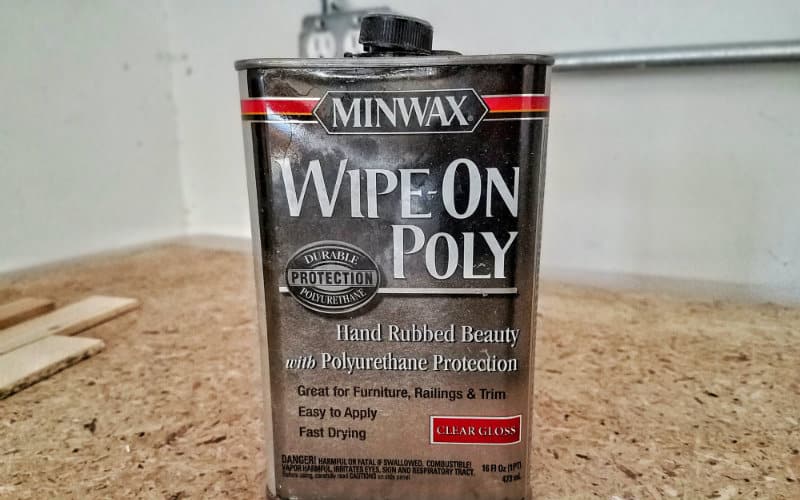
- Minwax Wipe-On Poly
- Drop Cloth
- Nitrile Gloves (so stain doesn’t get on your hands!)
- Rags (old t-shirts work great)
- Small Paintbrush
Staining Our Walls and Door Panels
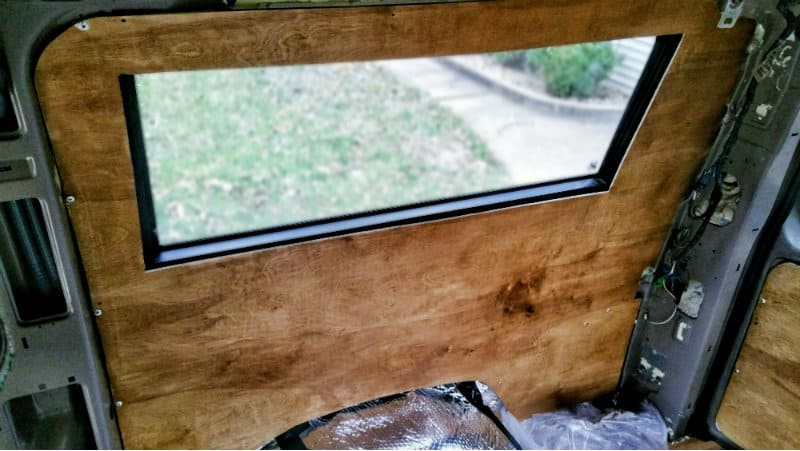
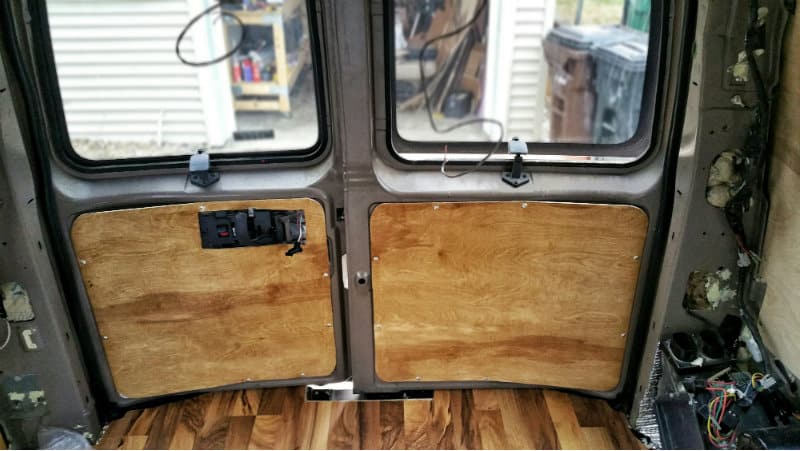
Jayme took the reins on staining the walls and door coverings. We decided to use only one color, and we went with Varathane Provincial. This was our favorite color out of all the stains we bought, and going with one color here ensured that the inside of our van didn’t look too busy.
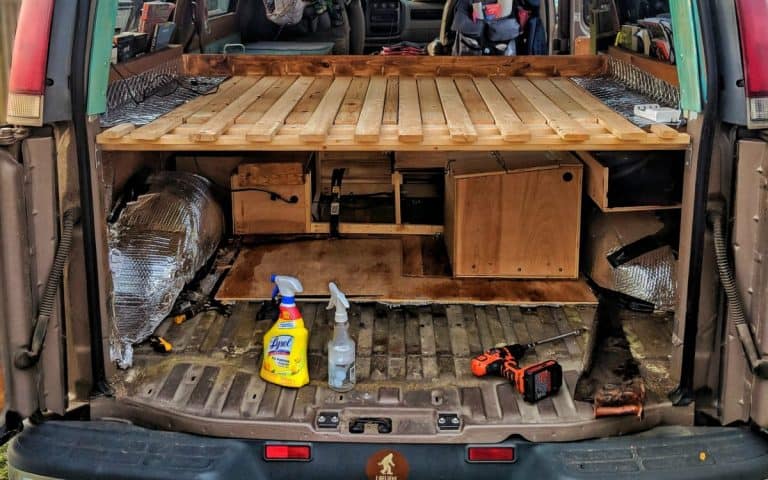
Before we began the process we removed everything from the van and laid out a drop cloth to avoid any stain getting on our gorgeous floor!
The easiest way to apply gel stain is with a rag. You can buy rags made specifically for staining, but old t-shirts ripped into medium-sized squares also work great for this.
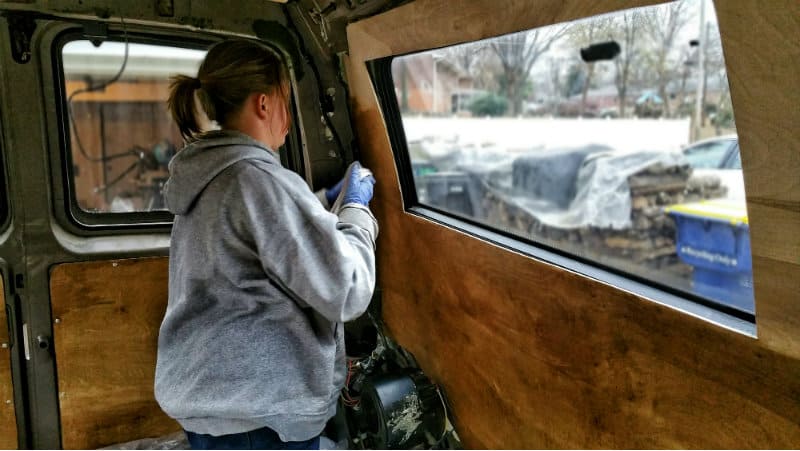
Staining is actually quite simple. Just dip your rag into the stain and start rubbing it on the piece of wood you’re working on. Don’t forget to wear gloves, this stuff will also stain your hands!
Varathane recommends rubbing against the grain to fill in the wood pores, then rubbing with the grain to even out the color.
Once you’ve got your workpiece covered in stain, you’ll want to let it soak in then wipe off the excess with a rag. The longer you let it soak in the darker the color will be, but it shouldn’t be longer than 5 minutes. We wanted to keep ours relatively light so we wiped the stain off right away. Make sure you wipe with the grain to keep an even color!
After two hours, you can add a second coat of stain if you want a darker color. We just did one coat.
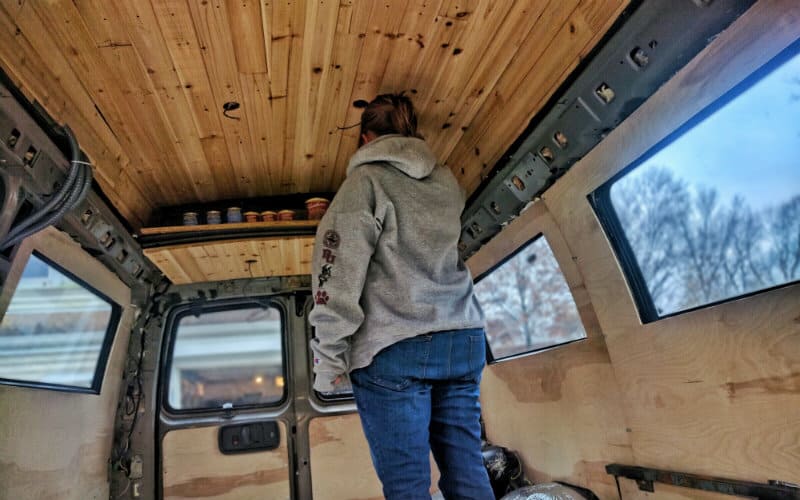
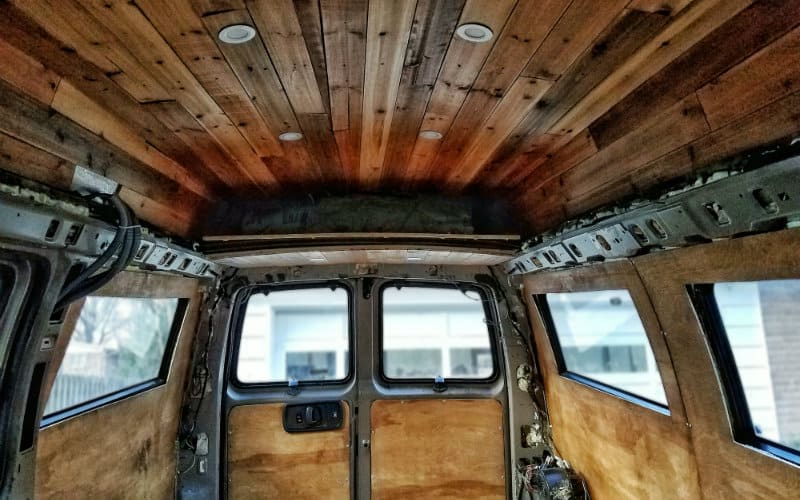
Staining Our Ceiling
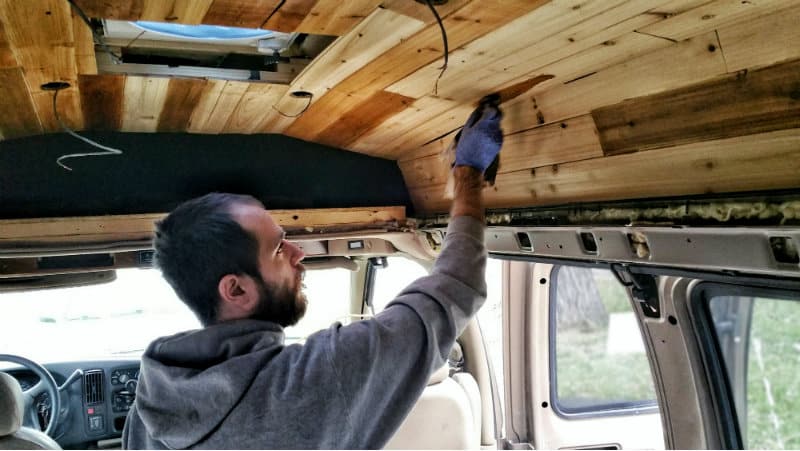
John had a strong vision for how he wanted the ceiling to look, so he did most of the staining up there. The idea was to use a variety of colors in a way that added contrast and also created an interesting whole that flowed together.
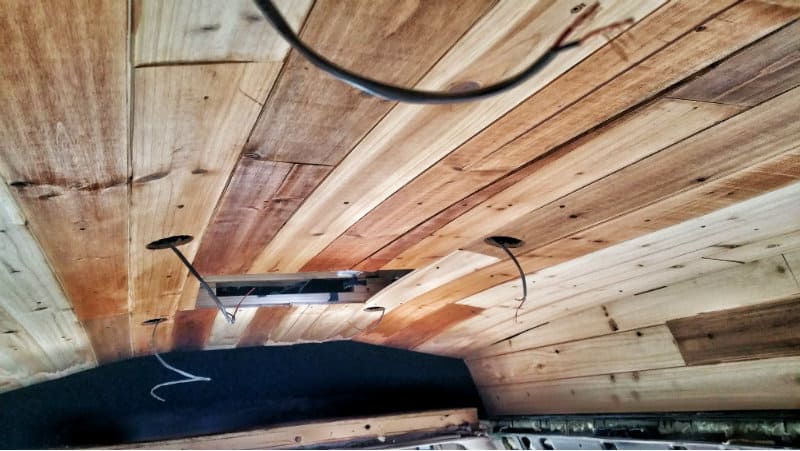
He used all seven stain colors on the ceiling, randomly placing them to create a mismatched look. He went board by board, mixing up the color each time. He used a small paintbrush to make sure the cracks in between each board got some stain.
Adding a Polyurethane Topcoat
Let the stain dry overnight, then add a topcoat. This seals and protects the wood, and adds a nice sheen that deepens and enhances the color. We decided to use Minwax Wipe-On Poly. Mostly because we had some sitting around, but also because it’s easy to use.
This process is very similar to applying stain: put some poly on a rag then rub it on your workpiece. The only difference is you don’t have to worry about wiping off any excess.
We only did one coat of poly, but Minwax recommends letting it dry for 2-3 hours, sanding lightly with 220-grit sandpaper, and applying a second coat.
We Now Have a Beautifully Stained Van!
We’re beyond excited how this turned out! With only a little bit of stain (well, okay, a LOT of stain), our van has been transformed into a homey log cabin with rich wood tones. We’ve started randomly popping outside just so we can stare at the inside of the van.
Now that the staining is done, we can build furniture and wire up the electrical. Pretty soon we’ll be moved in and can finally hit the road!
Stay tuned for more build tutorials, reflections, and updates on our progress! And don’t forget to follow us on Instagram @gnomad_home and on Facebook at Gnomad Home. Thanks again for all the love and support!


Hey guys! I recently bought a 1985 ford econoline with an extended roof. I want to install wood panels (preferably tongue and groove) but there are no ribs in the van to build a frame on? Do you have any recommendations as to how I can build a secure frame?
Hi Coleman, thanks for reaching out! If there are no ribs or screw points in your fiberglass roof, we’ve had some success using heavy duty construction adhesive like Gorilla Construction Adhesive. We used this to glue up the panels along the sides of our fiberglass topper. We also hung the ceiling portion first, then put the side panels up so that they help hold up each side of the ceiling. Hope that helps!
~John
hey guys, did staining the ceiling ruin the cedar smell?
Is there a functional purpose to staining? Like does it help protect the wood? Also, would you recommend staining inside the van, or staining the wood separately before installing the pieces?
Hi Natalie, the stain itself does not seal or protect the wood – that’s what your topcoat (typically polyurethane) is for. The stain is more for aesthetics – we used multiple stain colors to give our van a cool, mismatched look that we really enjoy. So it’s not “functional” per se, but at the same time for us it makes our van feel really homey, which we felt was important for our home. In my opinion, it’s much easier to stain the walls and ceiling after you’ve installed them in the van. There always seems to be some modifying and… Read more »
Awesome! Thanks for your help, this website has been such a valuable resource!
Hey guys! My fiancé and I just put up our pine tounf and groove ceiling! We just need to seal it but the tricky part is we live full time in it. How were the fumes of the poly? The rub on is appealing because of the drip factor. We just don’t want to pass out in our sleep!!
Hi Hannah, poly definitely puts out some fumes. We did all this while we were still living in a house, so we did not have to worry about sleeping in the van with potential fumes. I would personally recommend staying outside of the van for a night or so (friend’s house, tent camping, etc) to give the poly a good 24 hours to dry. If that’s not an option, maybe wipe it on first thing in the morning so that it’s had more time to offgas before the evening (The wipe on poly is pretty easy, and doesn’t take all… Read more »
It’s interesting that you have a mobile log cabin. That’s quite impressive and creative. In any case, I liked that you mentioned about how gel stain is easiest to use when on a rag or old ripped t-shirts. I would love to do your steps too, but our vacation home cabin is quite large for me to do it on my own. I’ll probably have to resort to a log home staining service so that it can be done before our family reunion next month. Thanks for the interesting read on staining one’s mobile log van!
Glad you liked the post! Sounds like quite a project, good luck!