Is a van conversion on your to do list this year? If so, you’re probably wondering, “how much does it cost to convert a van into a camper?” Building out your rig is one of the most significant van life costs you need to think about, and things can add up quickly if you’re not careful.
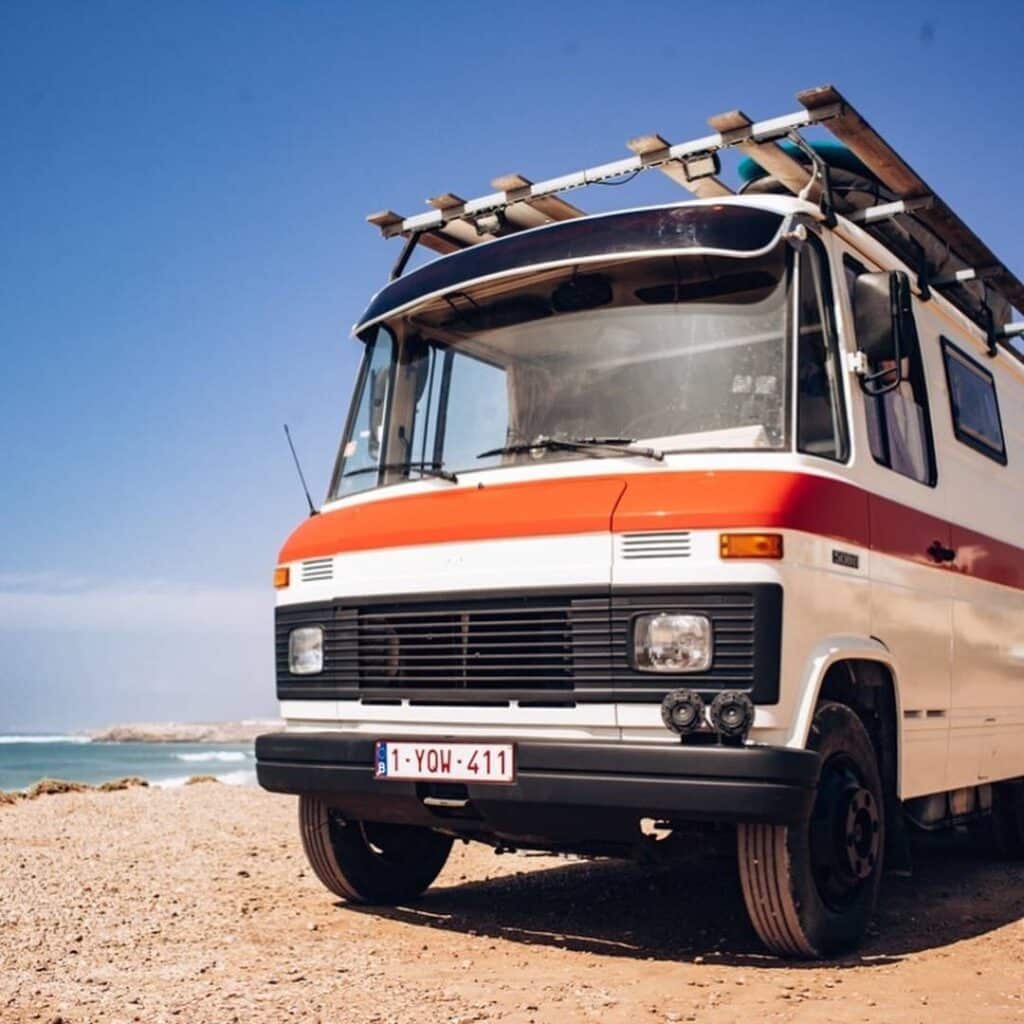
The good news: there are van conversion options to fit every budget. There are some stunning high end Mercedes Sprinter van builds on Instagram, but spending that much on your van conversion (or your van) is not required. If you know what’s truly necessary and what’s just a nice upgrade, it’s entirely possible to meet your needs with a modest budget.
To help you understand the total cost to convert a van, we’ve put together a complete cost breakdown. We’ll answer all your questions about van conversion costs, where you can save money on your build, and when an extra cost is worth it.
DIY Van Conversion or Professional Build?
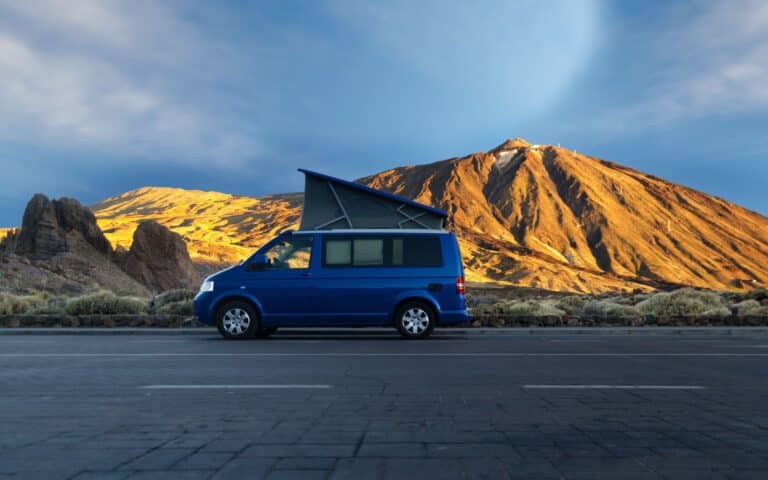
If you have the budget, you can buy a pre-converted van (aka an RV), like a Travato or Revel, right off the lot. That will easily set you back $120K or more, and you won’t enjoy all the benefits of a custom van conversion.
Instead, many van lifers chose either a DIY conversion, a semi-DIY build (getting help for some aspects from a professional van builder), or hiring out their entire build to a pro.
Naturally, the more you do yourself, the more you can save. That’s ideal – and totally doable – if your finances are tight. However, nothing is stopping you from going all out with your build, and some people do. If you’ve got the skills and the funds, the sky’s the limit.
What Professional Van Builders Cost
The cost of professional builds is generally higher than a DIY van conversion, although there are companies out there at a variety of price points. Some offer pre-converted vans based on a templated design, while others build each van with a unique approach, then sell it when they’re done.
With any professional van conversion, you find prices at the low end start around $10-12K for a truly barebones build, not including the cost of the van. A rough estimate for something in the mid-range is $25,000-$60,000. If you want more custom features or fancy accessories, you’ll be looking at prices well above that.
The growing excitement around van living over the past few years inspired many people to start a professional van conversion company. You can find them across the country, from big cities to remote locations, but don’t just choose the closest one.
Things to consider include:
- What is the quality of their van conversion work and their level of experience?
- Do they only work on a certain van make or model like Ford Transit or Sprinter vans?
- Can you request changes, or do you pick from a selection of fixed designs for camper vans?
- Will you have to wait a few months due to a backlog?
- Are they financially stable and unlikely to close up shop while working on your van?
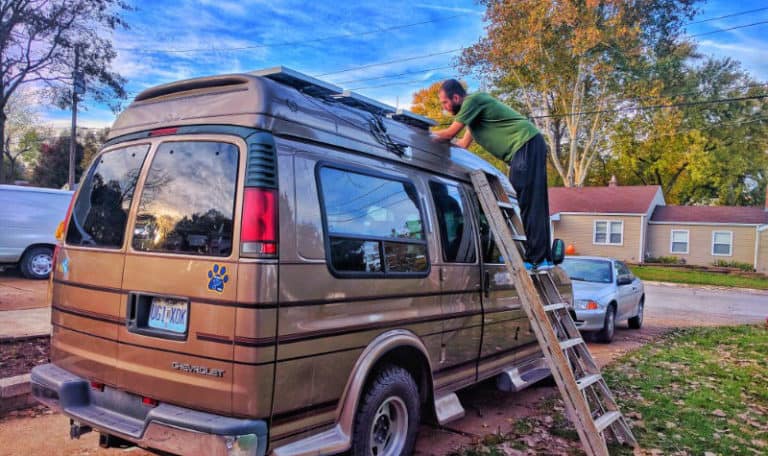
Should You Build a DIY Camper Van Conversion?
Certainly, a DIY camper van conversion gives you more control over your timeline, budget, and design. Even if you’ve never built a thing, it’s possible to create an awesome van conversion that suits your personality perfectly.
On the flip side, if you have no desire to learn new skills, if you can’t find the time for countless hours of work, or if you don’t have the physical ability to tackle construction, you may want help. That’s when a professional van conversion can be a smart choice.
And remember, you can sub out elements of your own van conversion if necessary, like installing electrical or adding a roof rack.
There’s nothing like the satisfaction of living in a camper van you designed and built yourself. It’s a rewarding experience, and if you get through all the ups and downs, I’d say you’re well on your way to living life on the road!
The Foundation – Purchasing a Van to Convert
So are you ready to roll up your sleeves and get to work on that camper van? Well first, you need the perfect canvas for your creation.
If you don’t already have a van, buying one for your van conversion will be the first big-budget decision you’ll make. Read into the best vans to convert into a camper and narrow your choices.
You can save money buying something super cheap off Craigslist, or spend more for a gently used Sprinter van with lots of life left. Keep in mind: this is the foundation for your build. You want the van to last as long as all the work you’re about to put into the camper conversion.
If you can only afford a very basic cargo van, you may want to plan a basic build, too. You’ll get some great experience in the process, and you can upgrade later if you want. And if you have smaller space needs, you can save a ton of money by going with a minivan camper instead of a full-sized van.
How much should you spend? Anywhere from a few thousand dollars ($3-5K for an older van that needs work) to over $60,000 for a shiny new Sprinter van. Anything – seriously, anything – in between is totally OK.
Allocating Your Campervan Budget

When deciding how much of your budget to spend on the van itself, consider things beyond the purchase price.
- You’ll need to register your van (tax, tag, and title fees vary greatly from state to state, so check that out in advance.)
- Does the van you’re buying need repairs? New tires? A paint job? Include those in your acquisition cost. (My used van required a $300 electronic key fob!)
- Are you buying a van locally, or will you have delivery or travel costs to get it home?
It’s helpful to set your total budget, then decide how much for the van and how much for the conversion costs. A good split would be anywhere from 50/50 to 60% to buy the van and 40% on the build.
If you plan to enhance your build over time, 70% for the van and 30% for the upfront cost of the build is reasonable. You don’t want to overbuild, so spending more than 60% of your budget on conversion costs is probably not the best move unless you have specialized requirements (or you bought a really cheap van).
A quick note on older vans: don’t underestimate the cost of upfront mechanical work. Even an old van in good condition may need many wear items replaced fairly soon, and the cost can add up. For cheap older vans, it’s a good idea to budget at least 50% of the cost of the van for unexpected mechanical repairs.
Let’s Build That Campervan!
Now that you have a van, the real fun begins. Planning and executing a DIY camper van conversion is a rush – especially when you avoid big budget surprises.
Let’s take a look at all the things that go into a build and what they cost. Then you can create a budget that works for you and covers every van conversion cost.
From all the major systems that immediately come to mind to the little things that are easily overlooked when planning a van conversion, we’ve got you covered.
3 Major Systems
Just like a house, there are some major systems to consider when transforming your own van into a home on wheels. Power, water, and temperature are three big things to manage when you turn a van into a camper, and a big chunk of your van conversion cost may be spent here.
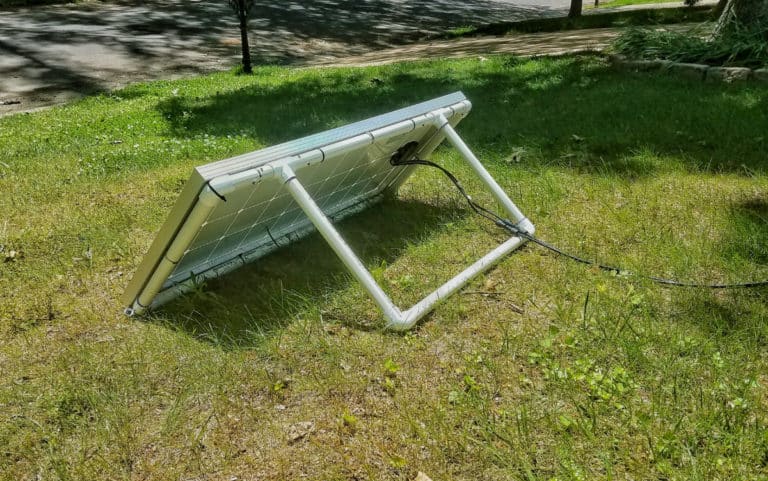
1. Solar System and Electrical components
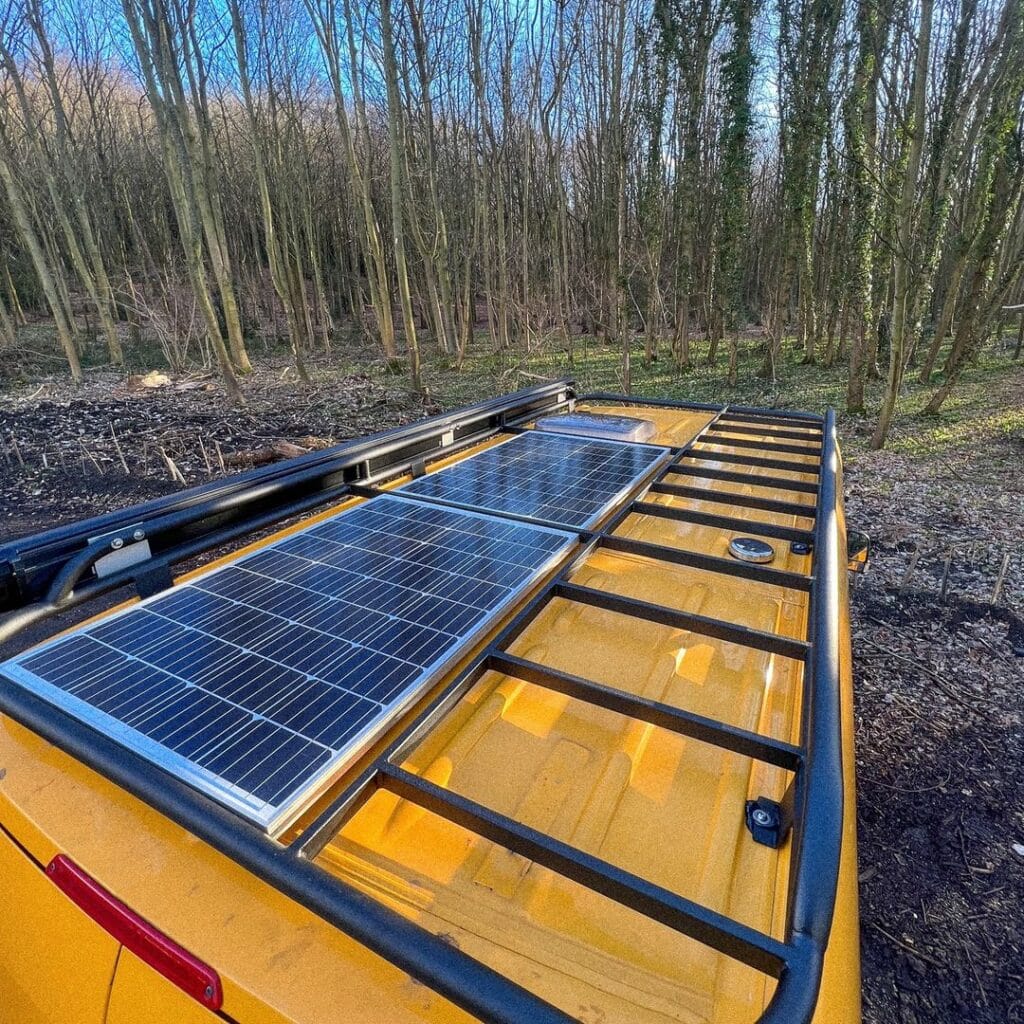
Powering the interior of your camper van can mean anything from a few solar $20 Luci lights to a rechargeable Power Station or a big bank of house batteries powered by solar panels (and via the van’s alternator, if you want).
If you opt for a full electric system in your van conversion, you’ll be looking at AGM or Lithium batteries plus a host of components to charge and manage them. The cost of camper van electrical parts varies greatly with the capacity of the electrical system, which is often one of the biggest expenses.
All in, you’re looking at anywhere from $1200 – $5000 for a complete van life electrical system, which could be the largest line item in your total van conversion cost.
To avoid unnecessary costs, design and price your whole electrical system as one budget category before purchasing individual components. Our Epic Guide to Camper Van Electrical Systems is an excellent resource for budgeting, understanding, and installing your electrical system.
Many manufacturers sell kits composed of matching components you can be assured will work together. If you’re buying each item for your DIY camper van individually, here are some price ranges:
- Batteries: A 100aH AGM battery is in the $250-350 range. A good budget LiFePO4 lithium battery costs around $400-$600, but gives you twice the usable capacity and a longer lifespan.
- Battery Monitor: Victron Battery Monitors range from $150-$210+ depending on the features. I got a basic model from Kisae for just $55 that works with my DC-DC charger.
- Solar Charge Controllers range from $40-$800 or more. I chose the Kisae DMT1250 for $265, a 40amp version from Renogy is $125-175.
- Solar Panels: Newpowa sells a 100-watt 12v panel on Amazon for just under $90. Renogy’s 175-watt panel was recently on sale for $200, down from $260. Slimline, flexible panels can cost 25% more than thicker, rigid panels.
- Inverter: To convert DC power to AC for household outlets, a Pure Sine Wave inverter is the best choice. There are many brands available at a variety of price points. A mid-range 1000W inverter runs between $75-300. One from GoWise is $197.
Portable Power Stations are a flexible, portable, all-in-one option if all those electrical components make your head spin. Jackery models run from $300 for 300 watts to $1600 for 1500wH (excluding solar panels).
As you install your camper van electrical system, you’ll need various switches, outlets, wiring, and fuses. Include these in your electrical plan and make a shopping list. Generally, these parts are not terribly expensive, but the cost can add up. A Blue Sea 12V DC fuse block is $50, a kill switch is $20, and a high amperage bus bar is $60-$100. It’s a good idea to budget at least $300-$400 for all of this stuff.
2. Water System
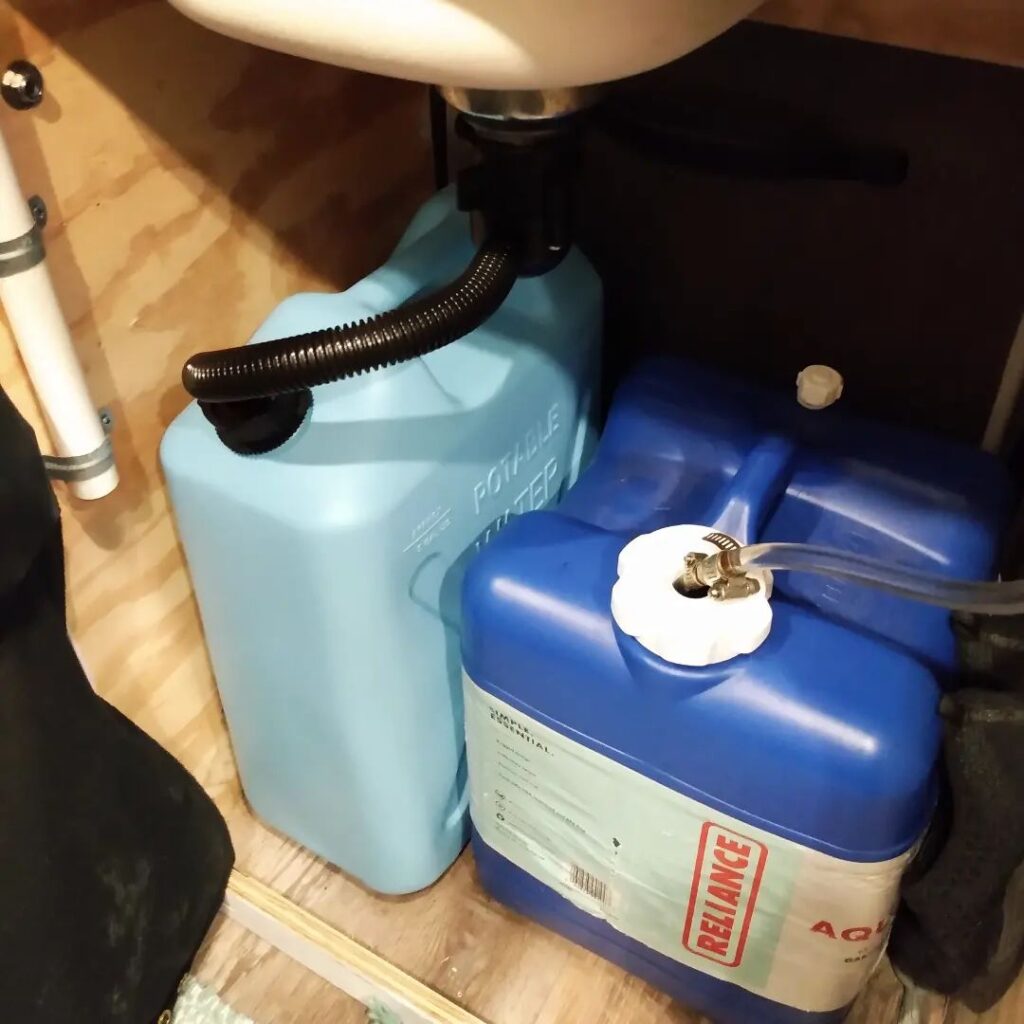
Water can be hard to come by when you’re traveling off-grid, so you need to be able to carry plenty with you. The water system in your van conversion should include both a freshwater tank as well as tanks for storing and disposing of waste water (gray water and black water).
You can easily store fresh water in 1-gallon jugs or 5L collapsible containers ($10 for 3), but these can get unwieldy for larger volumes. In between, Aqua-Tainers from Reliance are sturdy jugs for fresh or gray water. Their 7-gallon size is $20-30, and pairing them with a drain tap allows you to hook them up to a sink.
Possibly the easiest (and cheapest) campervan water system involves a 5-gallon water cooler jug (refillable or exchangeable at many different stores), a Dolphin hand pump, and a collapsible camp sink. This gets you water storage, a pump, and a sink for less than $60 in startup costs.
As the core of their water system, many people choose a larger water tank placed over a wheel well. One shaped to fit this space can be as much as $450 (20 gallons from Titan Customs) or as low as $299 (Agile Off Road).
My 20-gallon tank from ClassA Customs was just over $100, so clearly, it pays to shop around!
You’ll need similar tanks to store gray water (water drained from your sink and shower), although a smaller capacity can work. If you choose to have a campervan toilet in your rig, you may also need a black water tank (depending on the type of toilet).
A pump will get water from the tank to your sink (or you can just fill your sink from that portable container). People-powered foot pumps cost about $100-$120, and hand pump sink faucets cost $35 on up. If you’d rather go the electric route, a small 12V DC electric water pump (1.2 GPM 35 PSI) can be as little as $30.I spent a little more for a ShurFlo Revolution pump ($80) and an accumulator ($45) so I wouldn’t have to wait for water.
Add a sink, shower, and toilet and the cost of your build will increase accordingly
Sinks
A $12 bucket sink is portable and saves space in a small van. If you’ve got more room, you might want a naturally germ-resistant copper sink ($149) or a compact stainless bar sink ($97). Add a faucet for $20-100.
Toilets
You don’t strictly need a toilet in your camper van, as public restrooms are plentiful and toilets take up a lot of space. But if you do choose to include a toilet, there are options for every budget.
Your potty can be as simple as a 5-gallon bucket with a $15 seat or the $22 Reliance Luggable Loo.
For a more luxurious (or earth-friendly) experience, upgrade to a high-end composting toilet like the Nature’s Head (up to $1000).
In the middle, a cassette toilet runs $60-200. I’m really happy with my Thetford Porta Potti Curve, which is around $200. It’s light, easy to clean, and doesn’t smell.
Showers
There are all kinds of creative ideas to keep clean on the road, from baby wipes to a gym membership, to vans with fully enclosed showers.
I shower and wash my hair whenever I can find a public shower. In between, what I call the bird-bath option works great: simply warm up a little water, dip in a washcloth, and scrub away.
If finding public showers on the road stresses you out, you’ll want a solution for washing up right in your van.
A small and simple choice is a compact Nemo Helio pressure shower you can use outside (in a privacy tent if you’d like) with warm or cool water. It runs about $130 and weighs just over a pound. With a little foot pumping, you’ll enjoy 5-7 minutes of shower time.
Incorporating a more conventional shower in your van layout will cost a little more. You’ll need a water-tight enclosure as well as a showerhead, drain, and faucet. All in, this could cost up to $1500.
A mid-range option is a pop-up shower using the sprayer from your kitchen sink. A ring or hooks holding up a shower curtain will contain splashes, and a drip pan over a drain – which can be integrated into the floor – for wastewater.
This type of solution can be $75-$150, depending on where you source materials and how creative you are.
3. Heating / Cooling
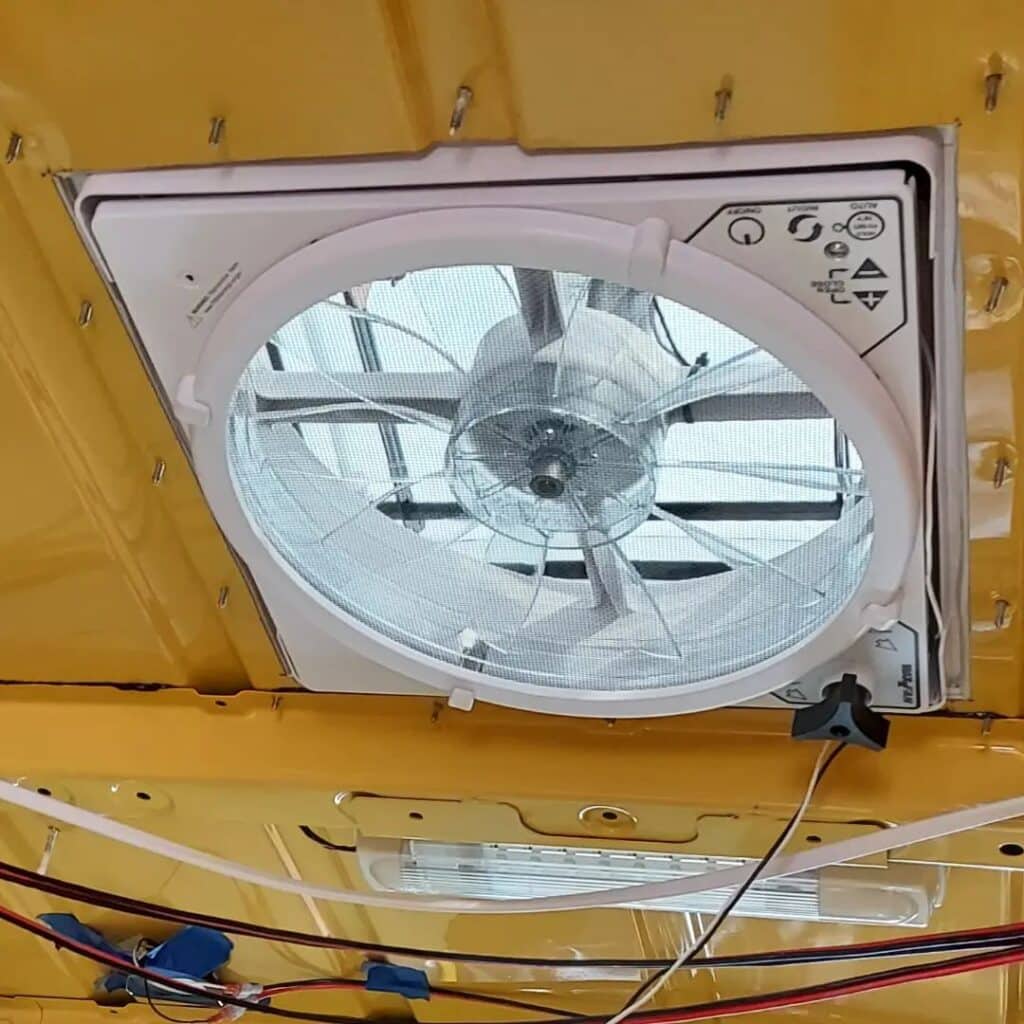
Managing the temperature in your camper van conversion starts with good insulation and proper ventilation. After that, you can manage the air temperature inside the camper van with heating or cooling.
Chill Out
A MaxxAir fan ($160-$350) is a dream for pulling air in or pushing it out, depending on the outside temps. Many people include two of these for larger builds, but one works fine if you have windows that open and a small portable fan ($10-15), too.
In fact, if you have a small van and a limited budget, a couple of rechargeable fans may be all you need to keep cool. Keep your van life cost in check for just $40-50.
On the high end, Dometic makes the Penguin 120V rooftop A/C which you can buy for $1100-1900 depending on the model. It weighs around 100 pounds, so it’s not light. Neither is the 12V AC from Nomadic Cooling, and starting at $5300, it will take a big bite out of your camper van conversion budget. And that’s before you factor in the enormous electrical system you’ll need to run one of these beasts!
Warm Up
Staying warm when it’s cold outside can be tricky, which is why I love my down comforter. I skipped a common expense and didn’t have a heater at all for my first year of van life, but a move to Colorado convinced me that snuggling up might not be enough.
While many van lifers choose a diesel heater like the Webasto ($1000-1500) I needed a smaller, more affordable option. My pick was a little Kovea Cupid heater that uses the same butane canisters as my stove, saving even more space. At $100-125, it’s literally 1/10th the cost!
Portable propane heaters from Mr. Buddy are even less – $60-99, but you need to be very careful to use them safely. ANY gas heating in your campervan means you must also have a carbon monoxide detector. For $20 bucks, it can save your life!
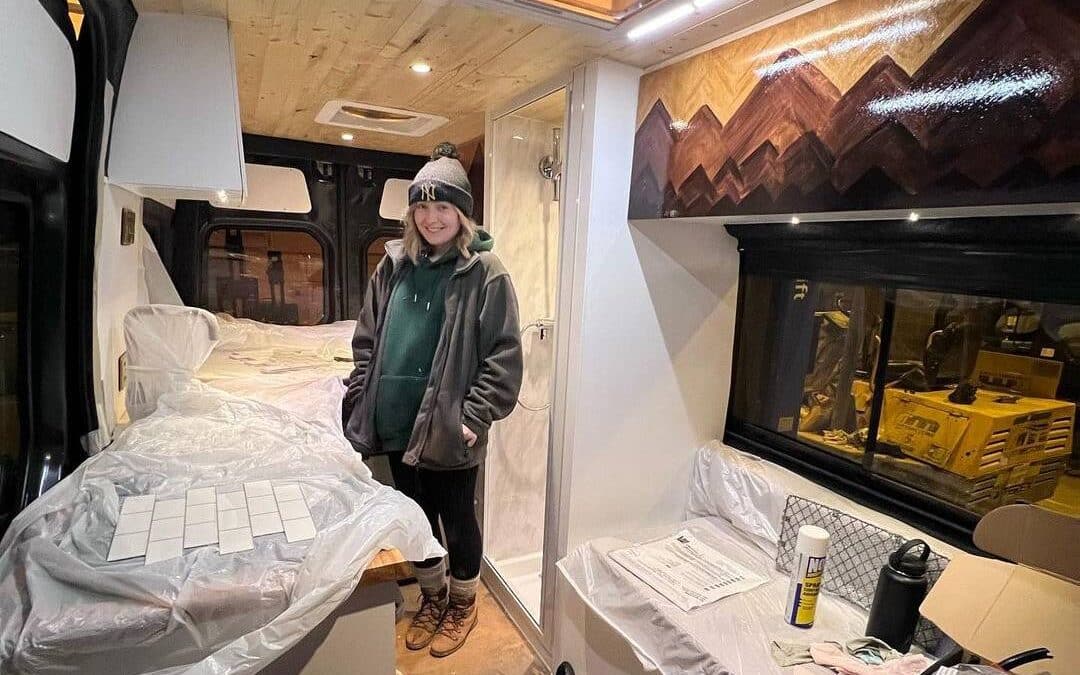
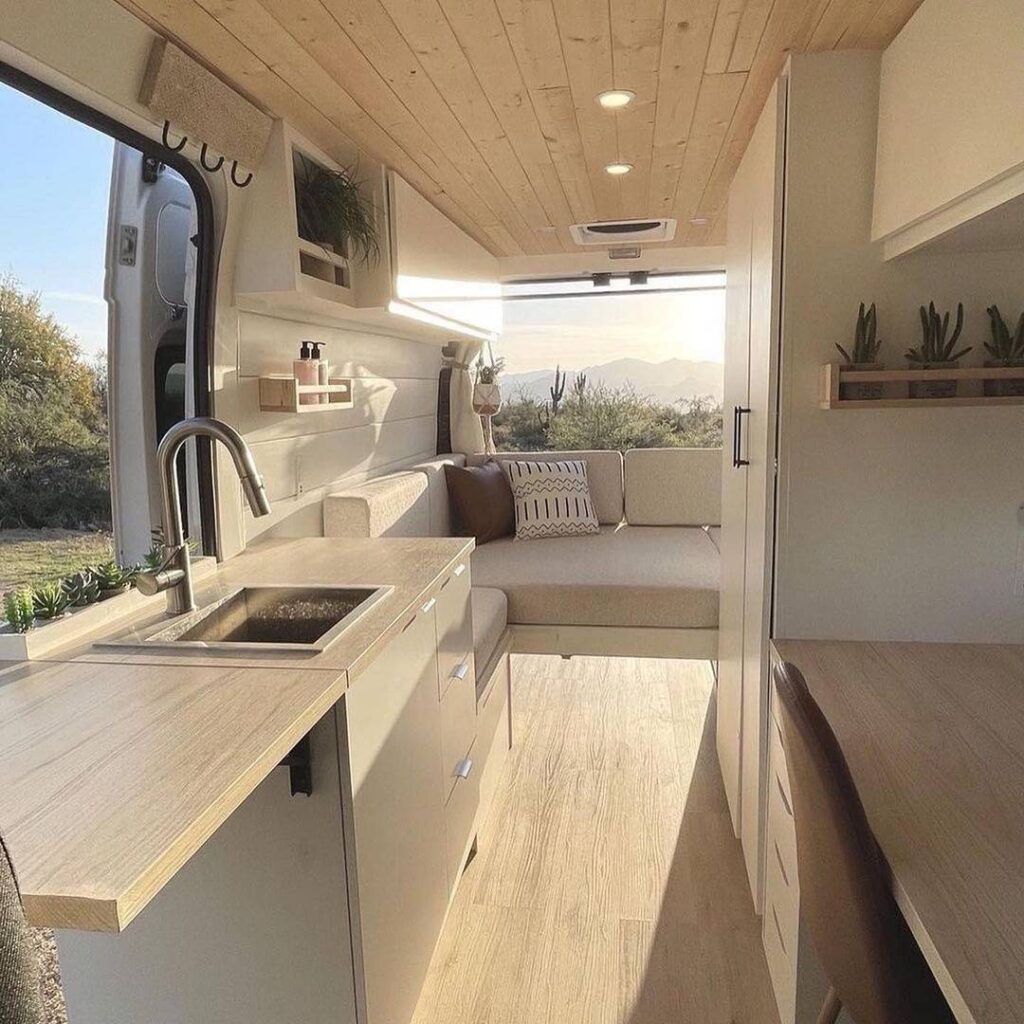
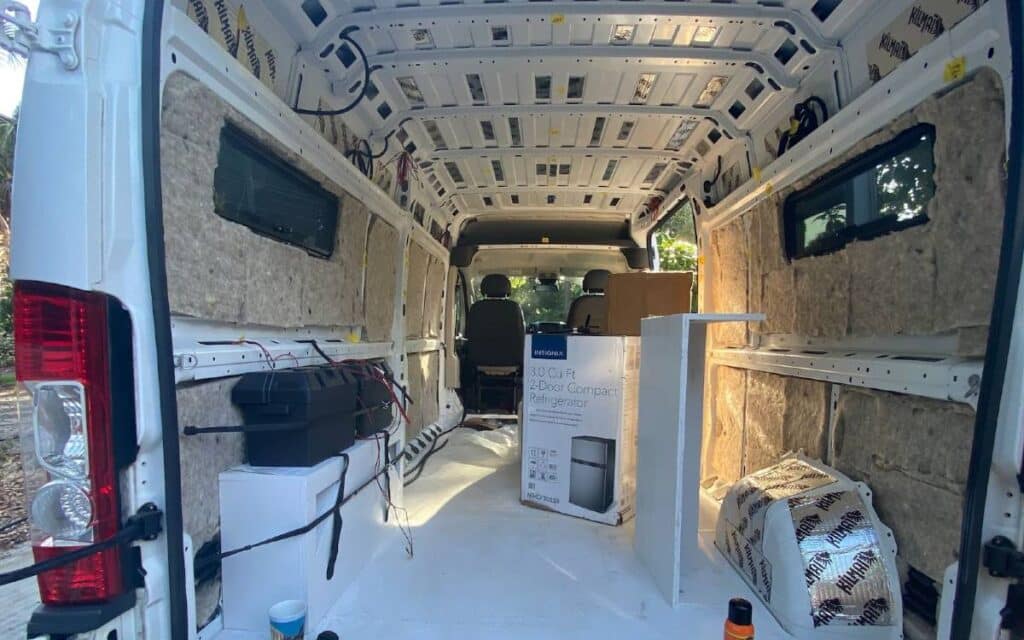
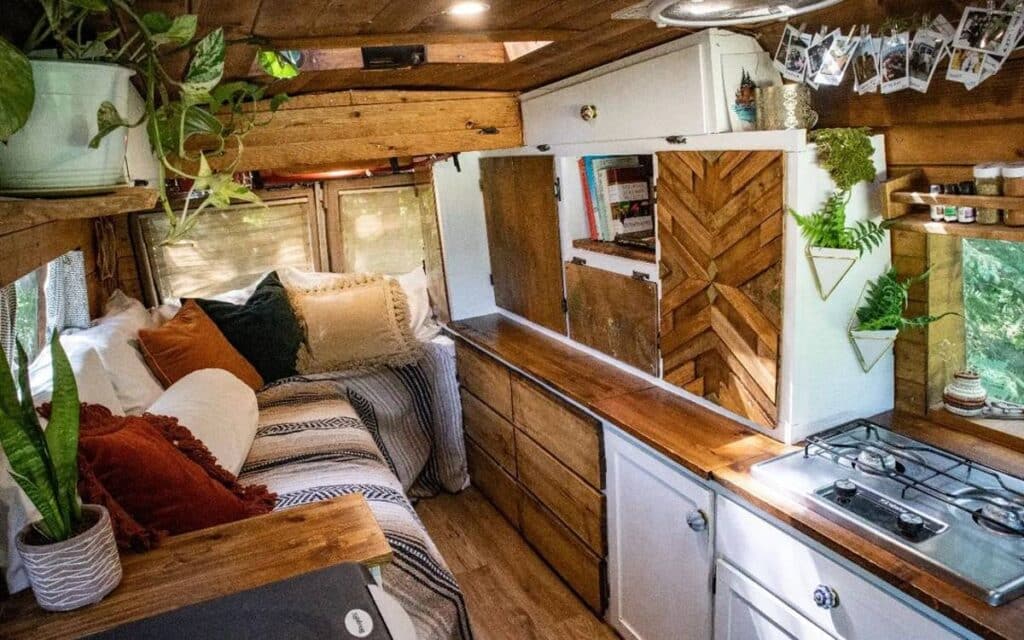
Campervan Interior Finishes
The interior of your camper van conversion is where your personal style really shines through. From floor to ceiling, and everything in between, you get to choose the colors and finishes you like best.
Are you a minimalist? Ironically, clean lines and simple design are not always the cheapest, but they can be. Want something filled with color and texture? Go for it. Whatever your style, thrift stores can be your best friend if you need to save more or just want something unique.
Check out places like the Habitat ReStore for cheaper materials to rock out your interior finishes. They often sell small quantities of wood, tile, and even hardware left over from bigger jobs, allowing you to save money on some of the most common expenses in a DIY van conversion.
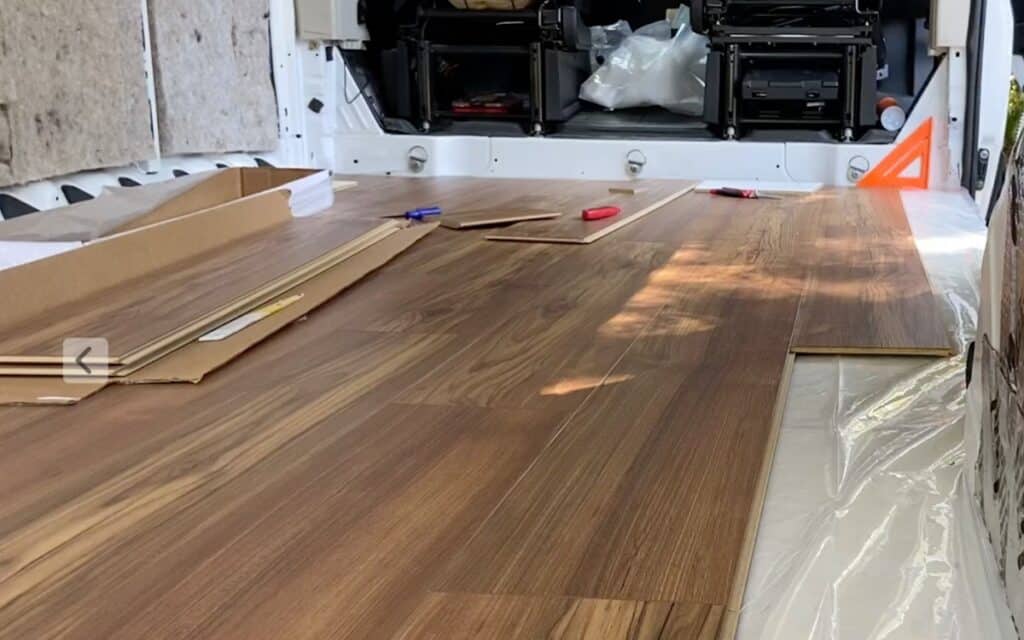
Walls, Flooring, and Ceiling
You can cover the interior of your van with anything from basic plywood to high-end laminate panels or even fabric. Since there are so many options, it helps to narrow down your choices and then set a budget for each area of your camper van conversion – the floor, ceiling, and walls.
If you want simple walls and are OK with using surplus or salvaged materials, $50-$150 might cover it. More specialized choices will cost more, especially at retail. Aim for $250-500 if this is your jam.
The most expensive option is custom components from a van conversion company. Some van life outfitters sell panels cut to fit specific models, as a set of wall panels may run $700-$900.
Laminate flooring is generally not too expensive. I picked mine up at Costco for about $45/box. Six boxes, cork floor insulation, and some underlayment brought my floor cost to about $275.
You may choose to extend your wall material to the ceiling. If so, add another 20-25% to your van conversion cost. You could also install lightweight luan ($23 for a 4×8 sheet) or pricier baltic birch ($55 for a ¼ sheet), and either paint or stain it.
This is where I splurged, installing baltic birch across my ceiling so I could mount the tin ceiling tiles I’ve always wanted in my home. At $17 for each 2’x2’ panel plus the cost of the birch, my ceiling was about $350. But, every time I look up, I love it!
The cost of finishing your walls, floor, and ceiling will vary according to your van size, your tastes, and which materials you chose. For general budgeting, allow as little as $100-$200 if money is tight. Use repurposed materials or creative approaches to stretch that budget. If you have more to spend, allow up to $1500-$2500 for a high-end camper van conversion.
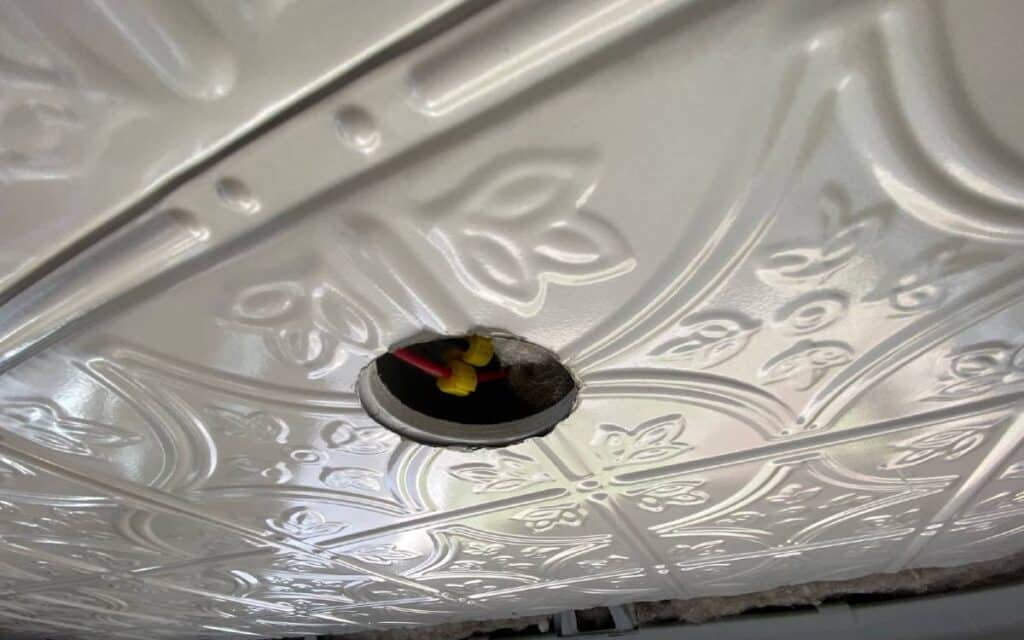
Lighting
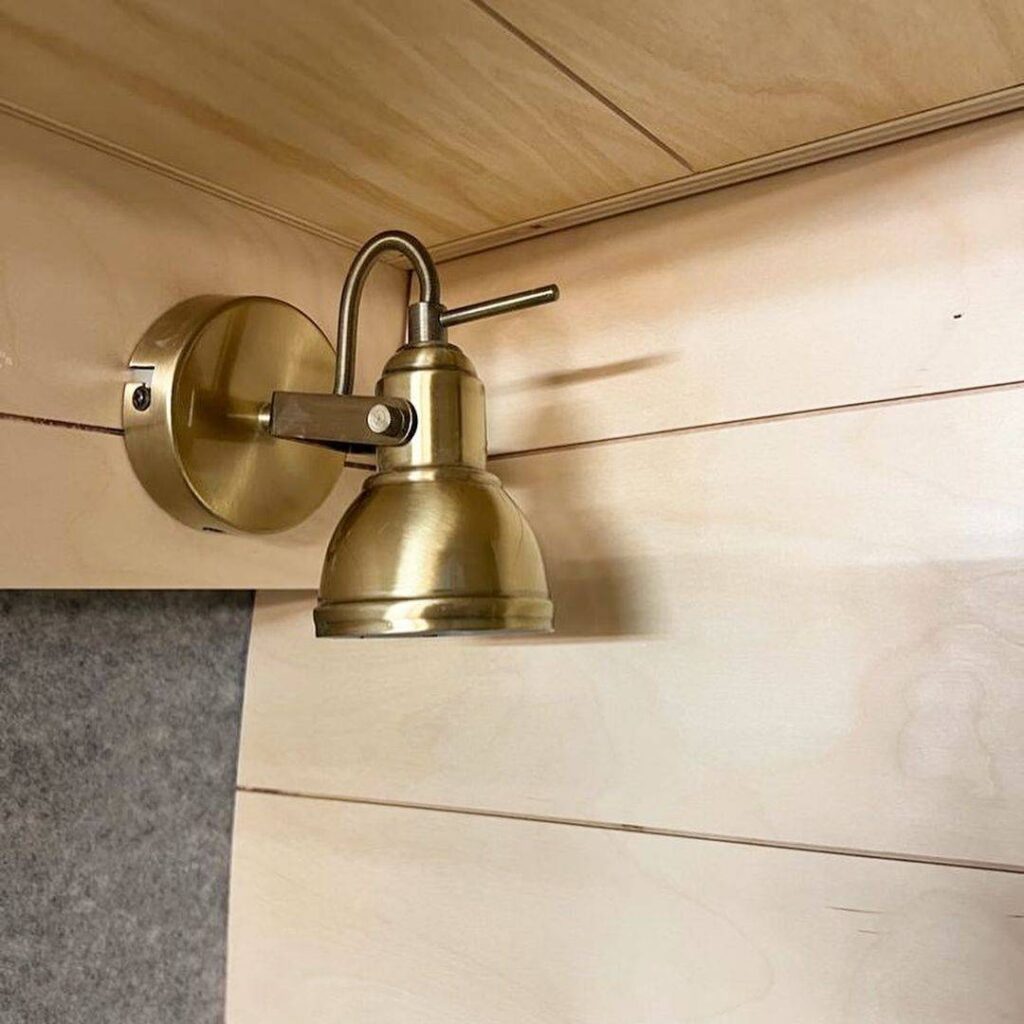
You can spend a fortune on fancy lighting, but there’s no need to with most van conversions. As you’re planning your electrical system, also consider what kind of light fixtures you want and where they should be placed.
Then make a list and shop around. You can find almost anything on Amazon, but also check local hardware stores or even garage sales and Facebook Marketplace for unique designs.
Some sample prices for popular 12v lighting options:
- Recessed Ceiling Lights – $25-40 for a pack of 4
- Reading Lamps with USB Ports – $23-$35 each
- LED Light Strips – $12-20 for a 16’ roll
- Fairy Lights – $10-50 depending on style and length
- Outdoor String Lights (Decorative) – $20-75
Don’t forget you’ll also need switches and dimmers if they’re not built into the lights. Add $10-20 each to your camper van conversion budget.
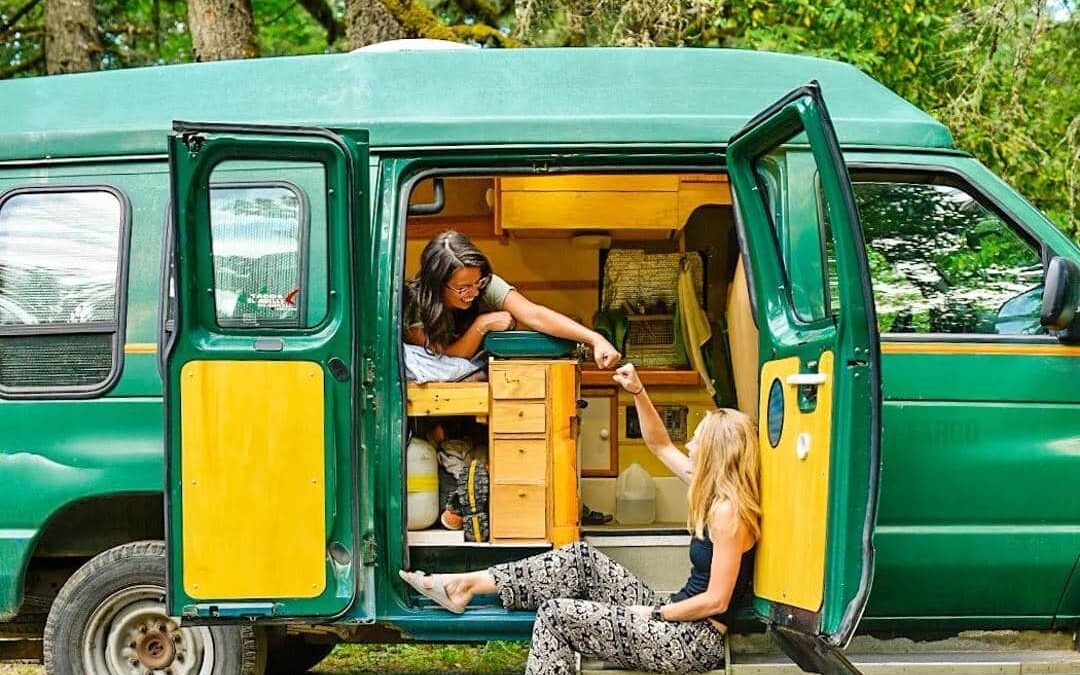
Furniture – Bed, Seating, Tables, and Cabinets
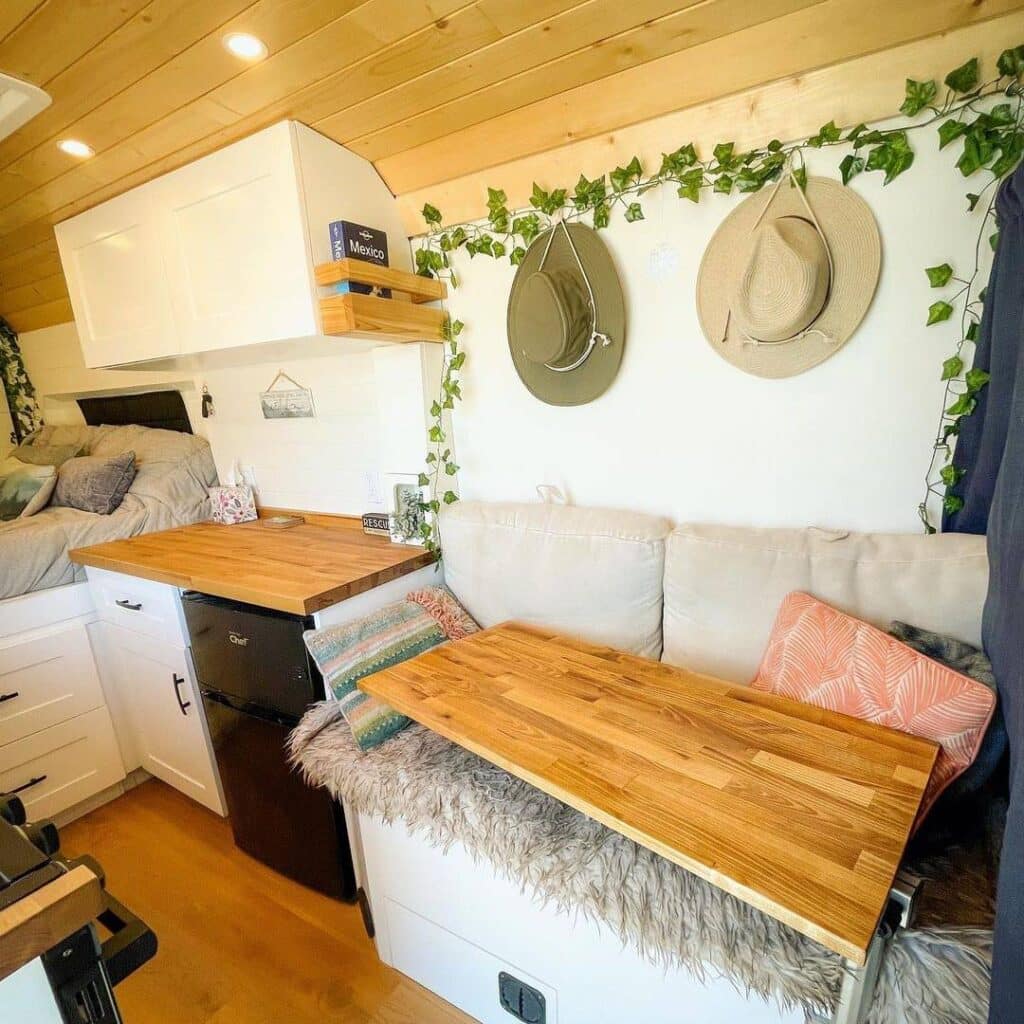
Once your walls, ceiling, and floors are in, you’ll be thinking about furnishings so you can sit, sleep, and relax.
I’ve seen quick and practical van builds that repurpose existing furniture, like a futon or camp table. This is great for a budget camper van conversion or if you’re not really sure how you want to use your van. If that’s the case, budget $100-250 and you should be good to go.
For built-in furnishings, the cost will depend a lot on whether you use kits and prefab components, or construct everything yourself.
Bed platforms, cabinets, and table tops can easily be made from ½” or ¾” plywood, which can cost $40-100 for a 4×8 sheet, depending on the type. (Wood prices also vary with regional supply and demand.)
Calculate the number of sheets you’ll need, plus hardware and paint or stain, and you can get a good ballpark figure for costs.
- RV or Lagun Style Table Mounts – $100-200/each
- Skorva Bed Rails from Ikea – $15/each
- Hinges and Struts for cabinets – $20-120/pair
- Hardware and Knobs – $1-15 a piece, depending on style and materials
- Paint and Primer – $22-50/gallon
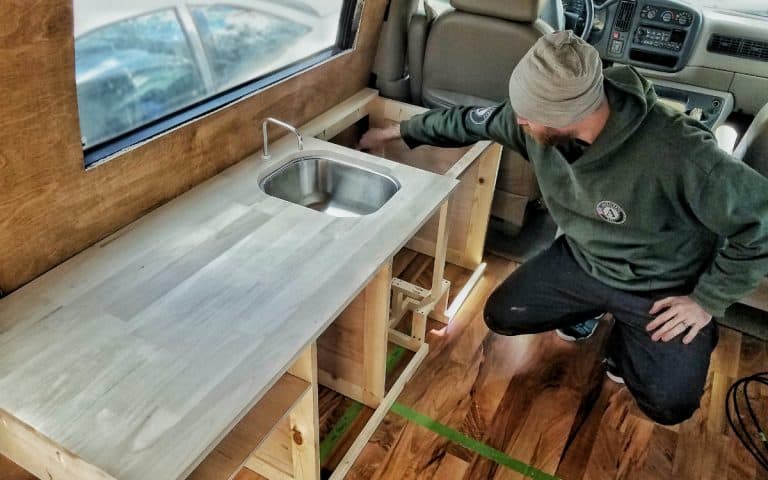
Van Kitchen Costs
Van living is much more comfortable with a nice place to cook. That’s why your kitchen or galley is so important. Like your basic furnishings, there are excellent budget options here, as well as luxury choices. The budget for your van kitchen can be as low as $200-300 or up to $1500-2500, depending on your priorities.
Want a powerful induction cooktop and a DC fridge/freezer combo? That’s a lot more than a portable gas stove and a cooler or dorm fridge.
Some costs to consider:
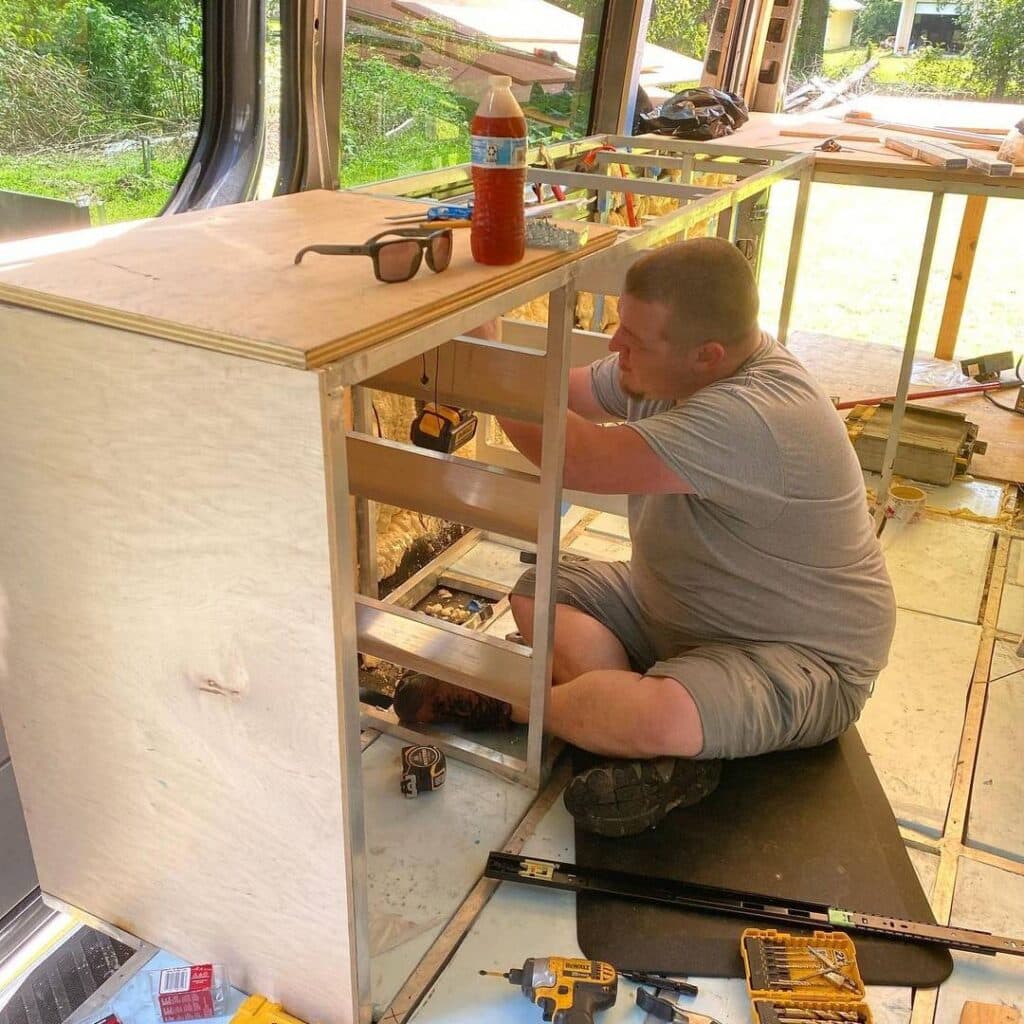
Cabinets
Making a van kitchen cabinet with swinging doors isn’t the easiest thing to do. Stock cabinets are readily available at big box hardware stores, with prices ranging from $85 for small, unfinished units to $400 or move for semi-custom cabinets with elegant finishes.
If those prices are intimidating, look for places near you that sell pre-loved cabinets for a fraction of the price. These are often in excellent shape but were removed for a remodel.
For my campervan cabinets, I went to Lifecycle Building Center in Atlanta and found three units in the perfect size – for just $30 each!
Counters

Like many things in a camper van conversion, the material you choose for cabinets can be almost anything. Butcher block ($15-30/sf) works well, as does high-quality plywood. You could also opt for laminates, but avoid heavy materials like granite or concrete.
This is one area where you spend a little extra for something special because you won’t need a lot. Most van counters are just 6-8 square feet, while a home kitchen is much larger.
Some DIY van builders get really creative with countertops, carving live-edge wood, or pouring resin in unique colors and designs.
Backsplash
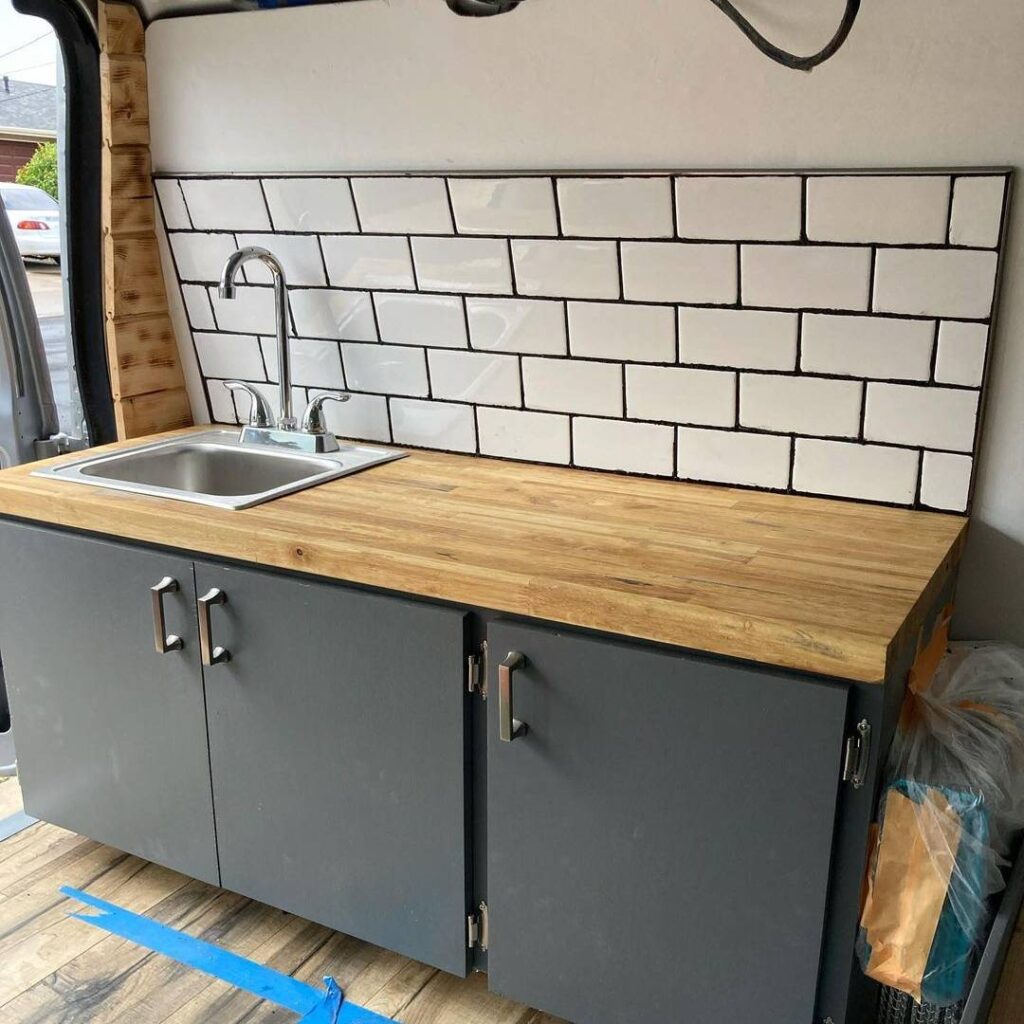
Peel and stick tile is an easy and inexpensive way to finish your backsplash, but it may not last as long as other materials. Painted wood, thin ceramic tiles, sheet metal, and sealed ship lath or paneling are all good options to give your galley a nice finishing touch.
Like countertops, there’s not a lot of area to cover, so investing in quality or upscale design here won’t be too costly.
Appliances – Fridge, Stove, and More
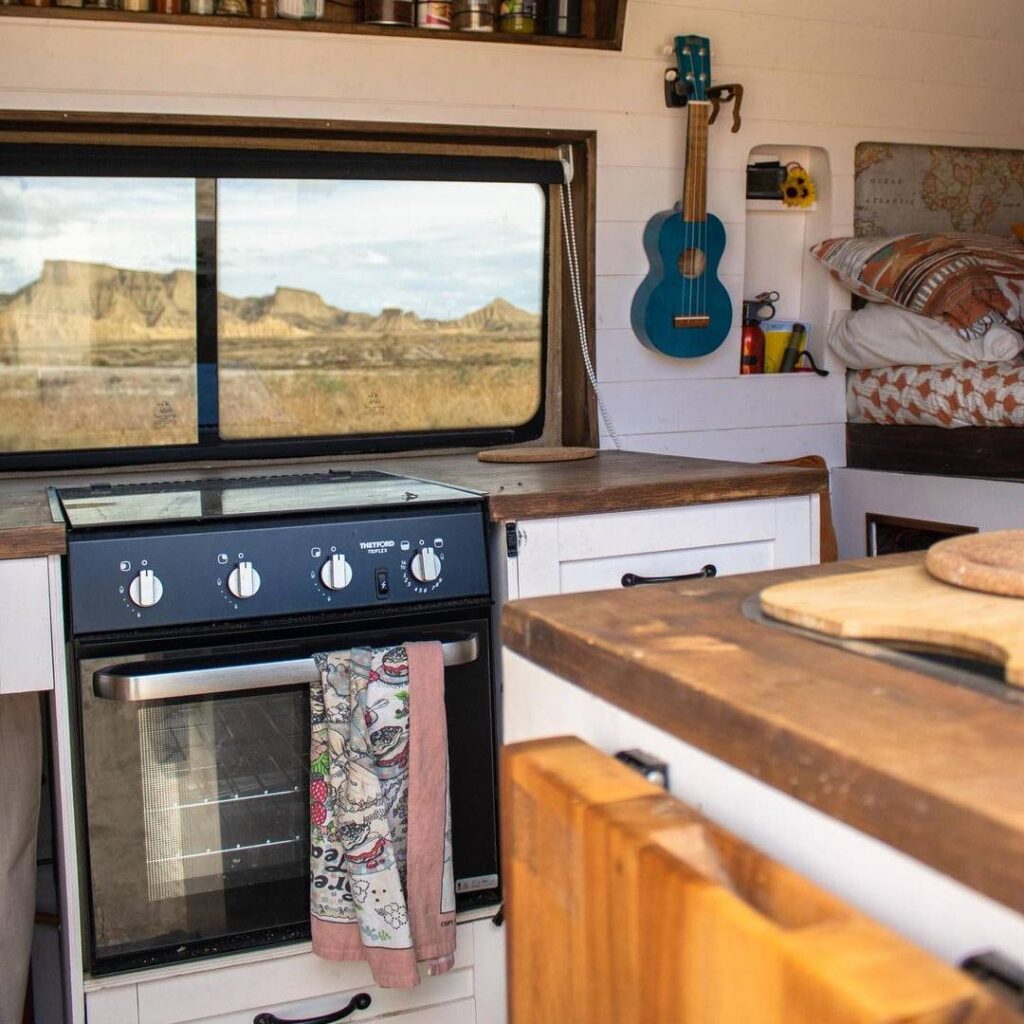
When it comes to appliances for van cooking and food storage, you can spend a lot OR save a lot. A $50 camp stove will heat your food just fine, although a two-burner induction stove or even a full range (with an oven) offers a lot more flexibility.
Set your budget based on your cooking style and preferences. If you’ll be living in your campervan conversion full-time, spending $500-1000 on a cooktop or range could well be worth it, especially if you eat out less because of it. For quick weekends away, a Coleman stove might be all you need.
If you’re doing a lot of cooking, you’ll want to keep food fresh to avoid waste. A good 12V portable refrigerator will keep your food cold indefinitely, and some models even have a second zone that can function as a freezer. These fridges won’t use a lot of electricity, and cost anywhere from $300-$600 for a budget/midrange unit. But if you’re on more of a budget, a basic ice cooler or even an inexpensive dorm fridge will also work, and for less that $200.
You might also like to have a microwave, coffeemaker, hot water kettle, or other small appliances. These don’t have to be part of your campervan conversion budget, but if you plan to keep them in your van permanently, go ahead and include these costs.
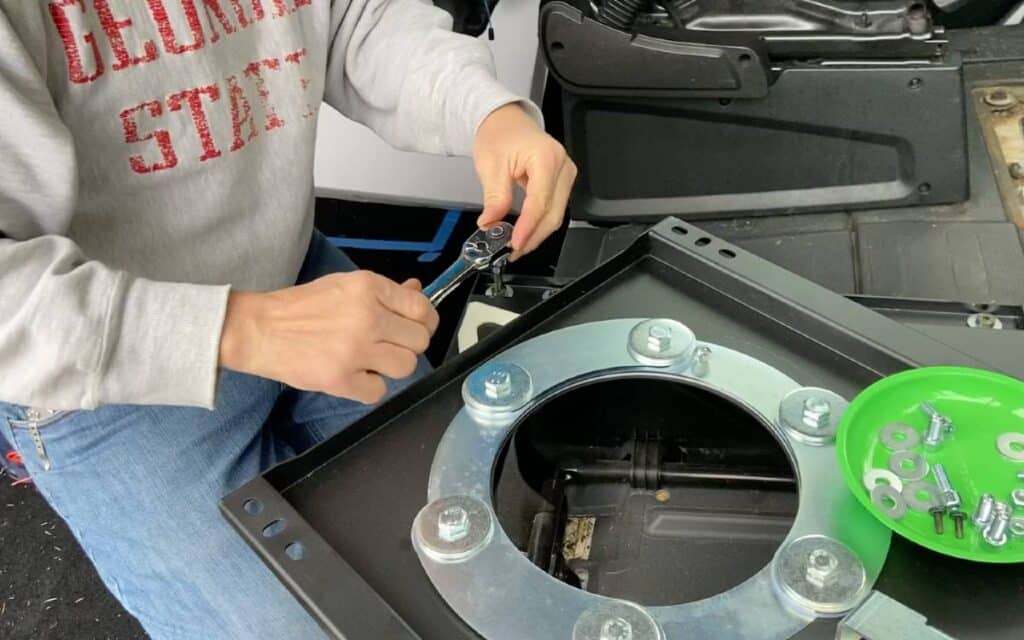
Van Upgrades

Before you even start your campervan conversion, you might look at your van and think, “I can’t drive this thing without a backup camera!” No worries, you can add that and a number of other aftermarket options to make your van more comfortable as a camper.
Here’s a quick rundown of the costs for some of the most popular van life upgrades:
1. Swivel Seats
Seats that rotate to face the back are becoming more common as an option from big van manufacturers. If your van didn’t come with them, it’s a pretty easy DIY project. Seat swivels can be found for $225 – $400, depending on the brand and model.
If you find one you like, be sure to shop for deals. When I did my van conversion, in the middle of COVID supply chain challenges – I discovered it was faster, and less expensive, to order my CTA swivel from overseas. That included shipping!
2. Windows
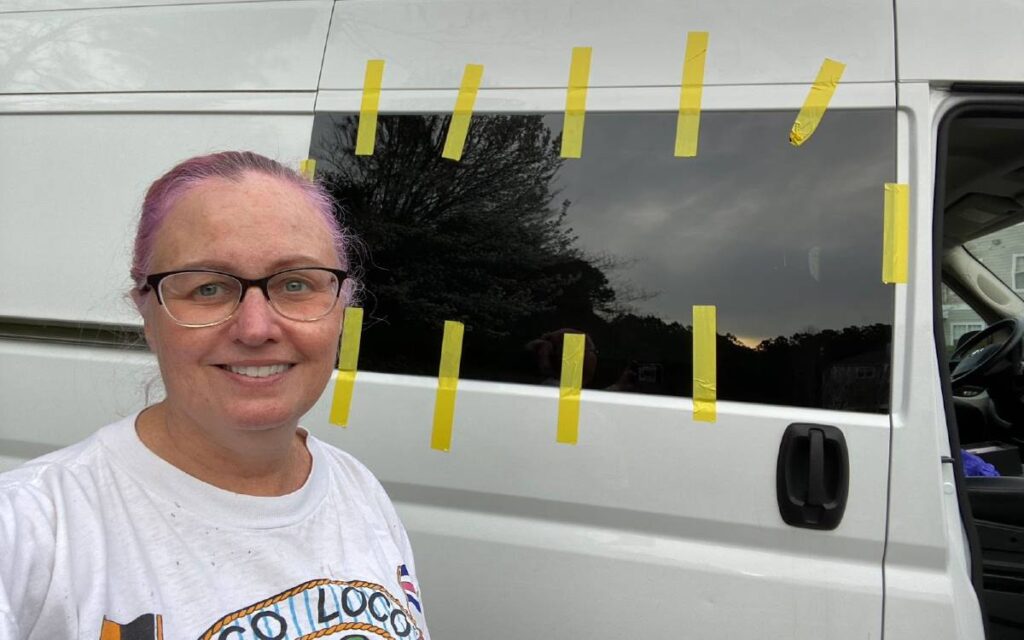
You can find all types of windows to improve light and ventilation in your van. From bunk windows to portholes and big glass windows for your sliding door, prices (and quality) can vary considerably.
CR Laurence and Van Windows Direct are two popular brands, and there are many others to consider. Budget from $150-500/window. Non-moveable windows cost less, and are very easy (if not scary!) to install.
3. Back-Up Cameras / Rear View Cameras

If your van doesn’t have rear windows, a rearview camera is a must. Even with windows and great mirrors, the added peace of mind of a backup camera is well worth the cost.
Models range from $50 for a basic digital rearview camera to over $300 for a more sophisticated camera that records and stores video from both the front and rear. The VanTop 610 and 612 models are highly functional, and at around $85-125, they’re also quite affordable.
4. Running Boards
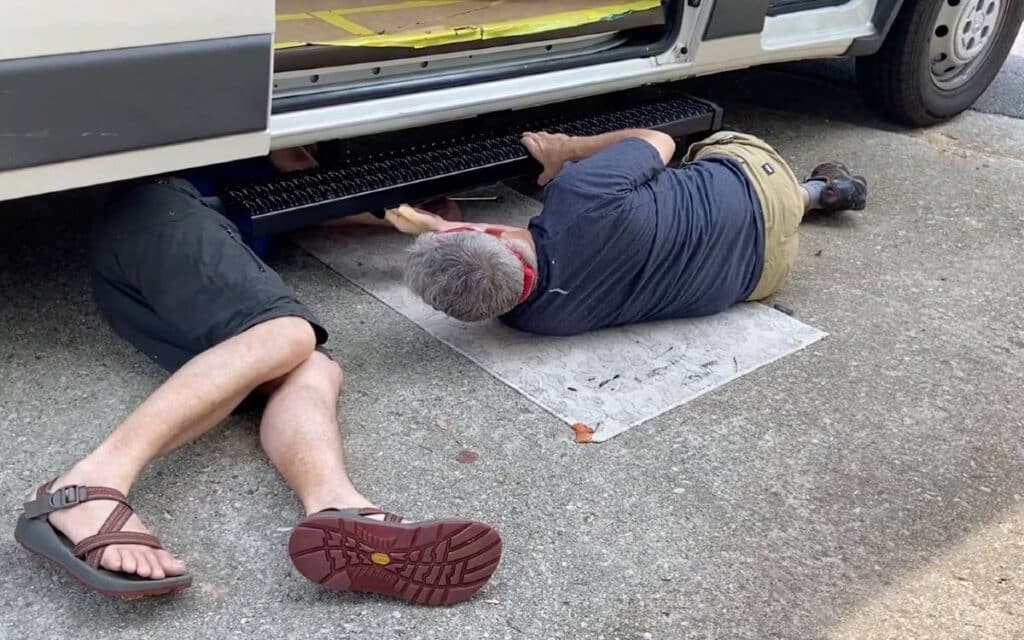
Getting in and out of your van can be a trick, especially if you’re not tall or you have a large cargo van with a high floor height. That’s when a running board can be a game-changer. You may want steps for the cab doors as well.
Running boards range from simple fixed steps attached to the underside of your van to electronic models that move in and out when you open or close a door. While a newer Ford Transit or Sprinter van may come with factory running boards, if your van doesn’t have them, you’ll probably want some.
A basic running board can cost $150-200, while an automated step with lights can creep up to $1800 or more. Add the cost of professional installation if you’re not confident drilling holes in the underside of your van. (Honestly, I wish I had, this turned into one of my most difficult projects!)
5. Security
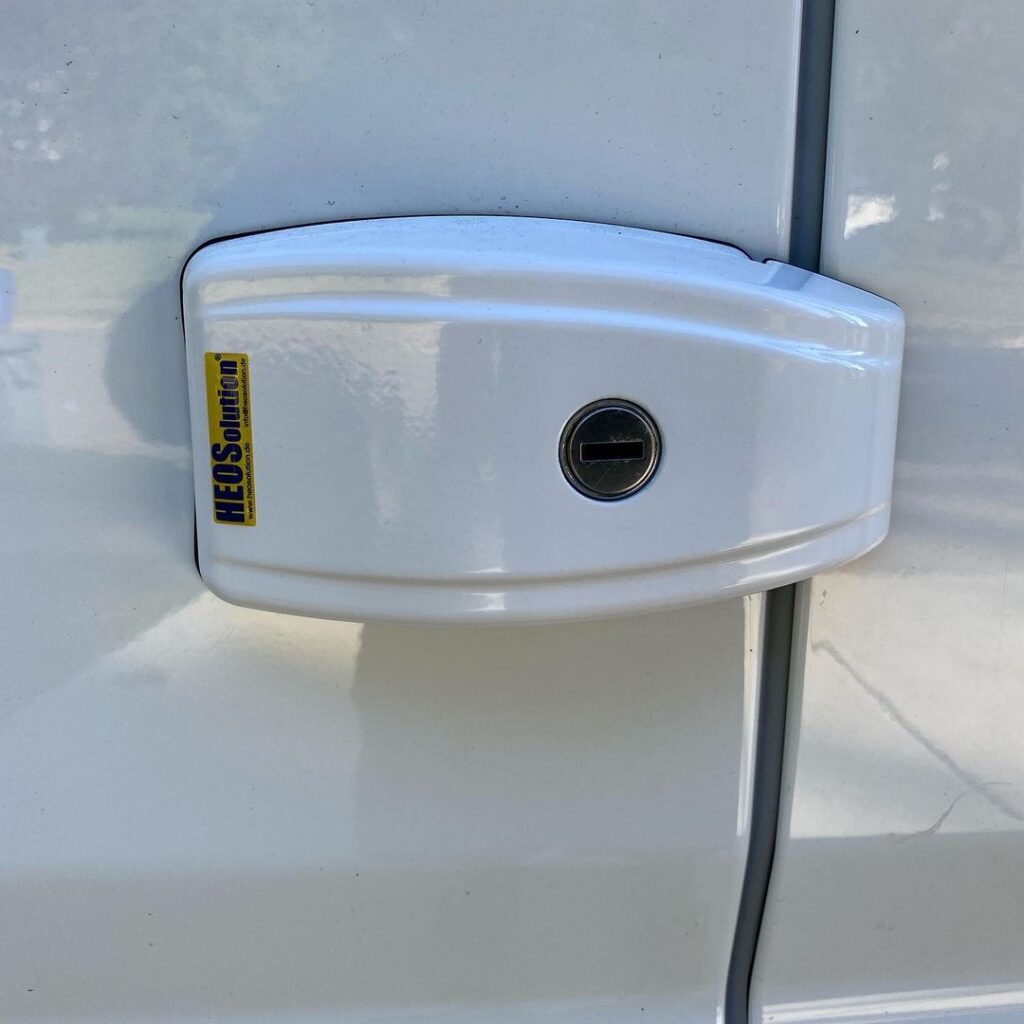
There are many ways to improve the security of your van, from motion-activated solar lights ($18/4) to sophisticated locks and alarms. Security can be especially important if you’re frequently traveling in urban areas, or as a woman traveling alone.
There are lots of inexpensive ideas to secure your van doors from the inside while you sleep (try coated cables and carabiners). You can start here, then add wireless cameras and alarms, although many also require wifi or a cellular connection.
Think about your needs then add a line item to your van build budget for safety and security. As you research the options that work best for you, you’ll quickly determine whether $100 will do it or if you need $500.
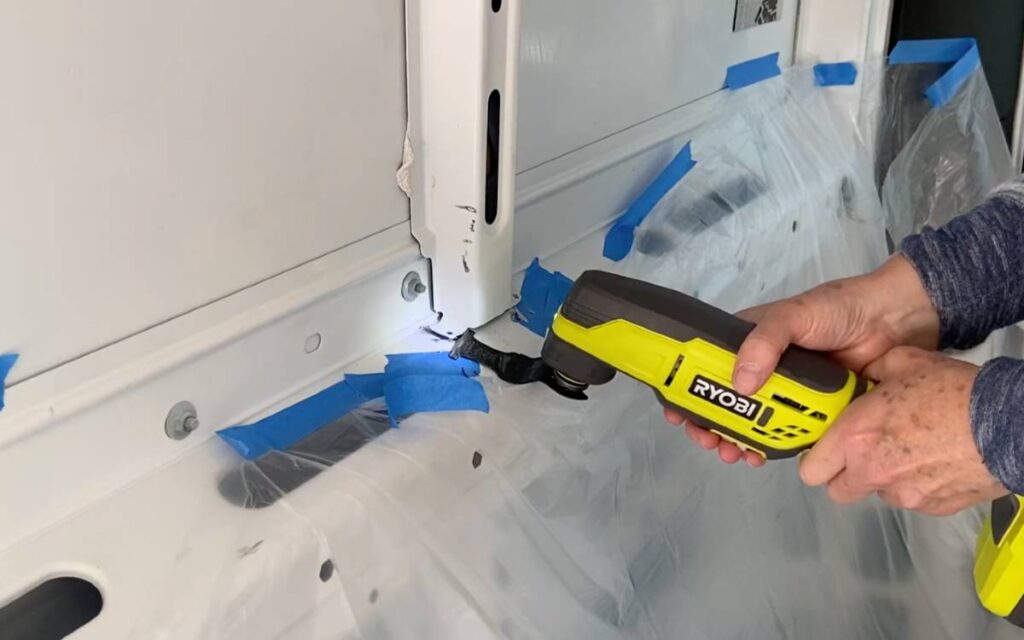
Stuff You Don’t See
Nothing derails the cost of a van conversion faster than forgetting about all the things you don’t see. Sure, many of these are small things, but they can add up fast! Your costs will depend on the complexity of your build, the size of your van, and the type of materials you’re working with.
Here are some ballpark price ranges for common items you’ll never see when your van is done:
- Sound Deadener – A box of Kilmat that covers 25 sf: $65. Other brands are priced similarly. If you’re traveling over longer distances and rattles make you crazy, this is well worth the cost.
- Insulation – Havelock Wool is $150 for 100sf., XPS (extruded polystyrene) is $47 for a 4×8 sheet, and there are many other options. Don’t know which to choose? Read our detailed van insulation guide.
- Wiring -Your van’s electrical system will require more wiring than you might expect. This is an area where you don’t want to scrimp on quality – your safety is at stake. Budget for the cost of wires in a variety of sizes, plus, crimps, connectors, and tools. $300-$600 is a good range for a typical Ford Transit or Sprinter van conversion.
- Plumbing – You’ll need water hoses, clamps, strainers, and such. You may also want filters and a HepvO waterless valve trap to keep smells away. Average cost for all this? $100-$150.
- Framing – Wood framing is the top choice for van builds, and there are lots of ways to install it. The cost for furring strips or 1x2s or 1x4s (some people use 2x4s, but you probably don’t need to) will be determined by your approach and the size of your van. Include fasteners like plus nuts or rivnuts ($0.50-$0.75 each) as well. Total van build cost? $150-$300.
- Scews, fasteners & adhesives – Your hardware store will know you by name when you keep coming back for these! Budget $200-$300 for glue, screws, bolts, latches, etc. (adhesives add up quickly).
Van Accessories
To make your van super-functional as a campervan, there are several accessories you may want to add. Need shade? Add an awning. Access to that high roof? You need a ladder. Here’s what those van accessories cost:
Roof Racks
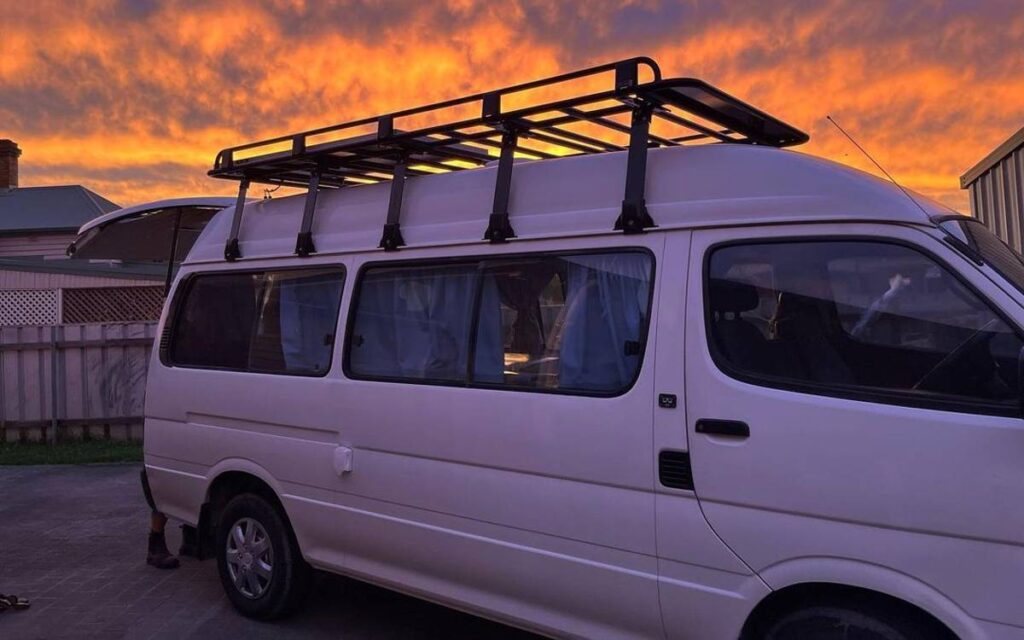
Your options here range from building a roof rack from scratch to a completely custom design. Lightweight 80/20 aluminum is available as both a DIY option and a custom roof rack. Off-the-shelf steel roof racks are also an option.
The Topper galvanized roof rack from American Van is $650-$750. A Safari roof rock from Flatline Van Company is $4000. Odds are your budget puts you somewhere in the middle.
Unaka Gear Company offers a range of kits for low-profile racks that are great for stealth camping. They will hold your solar panels securely for a mid-range price of $500-$2000.
Ladders
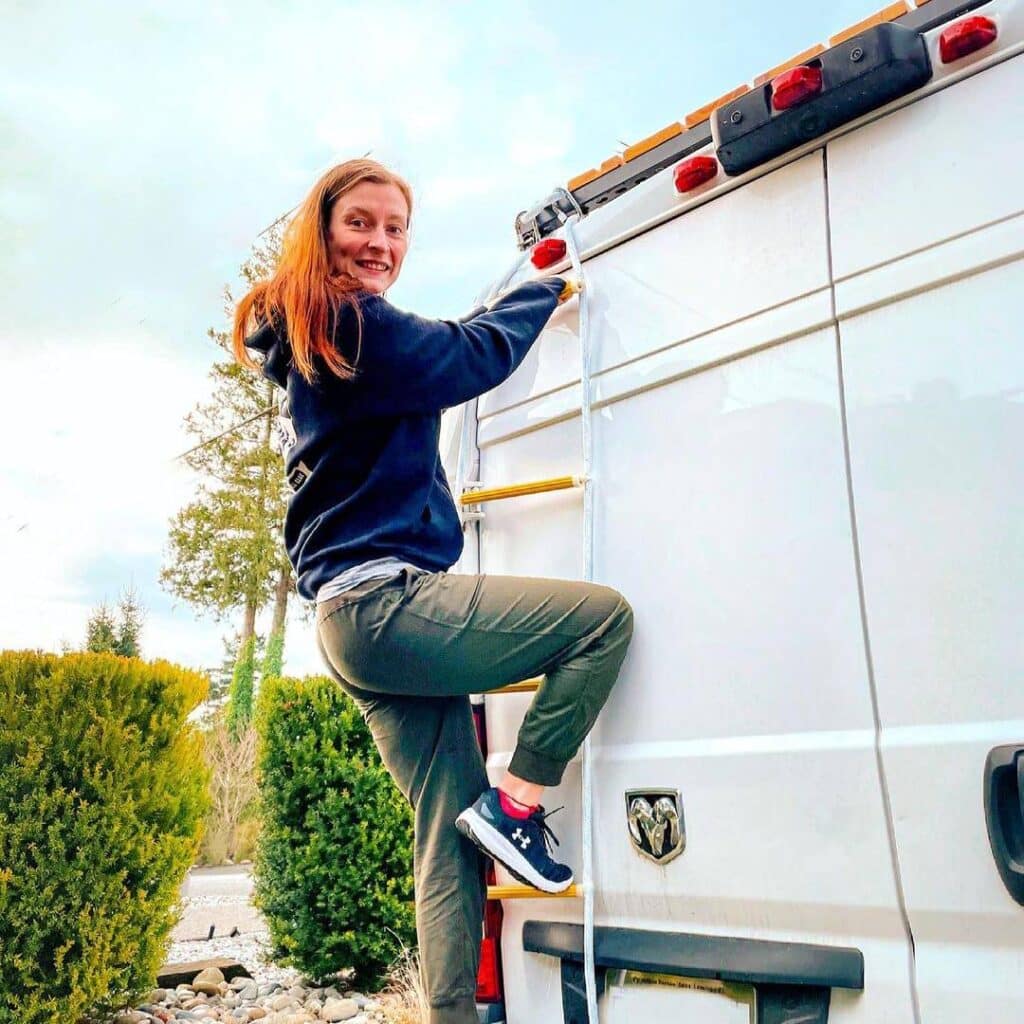
Fixed ladders look pretty rad on the back of vans, and they make it a lot easier to access a high roof if your van has one. Prime Designs sells lightweight (20lb) ladders that fit a variety of vans, priced around $500-600.
If you don’t want to spend that much or are wary of random people climbing on your van while you’re out on your next adventure, a stowable ladder could be a better option. The aluminum telescoping ladders are available in a variety of heights for $90-$120.
Awnings
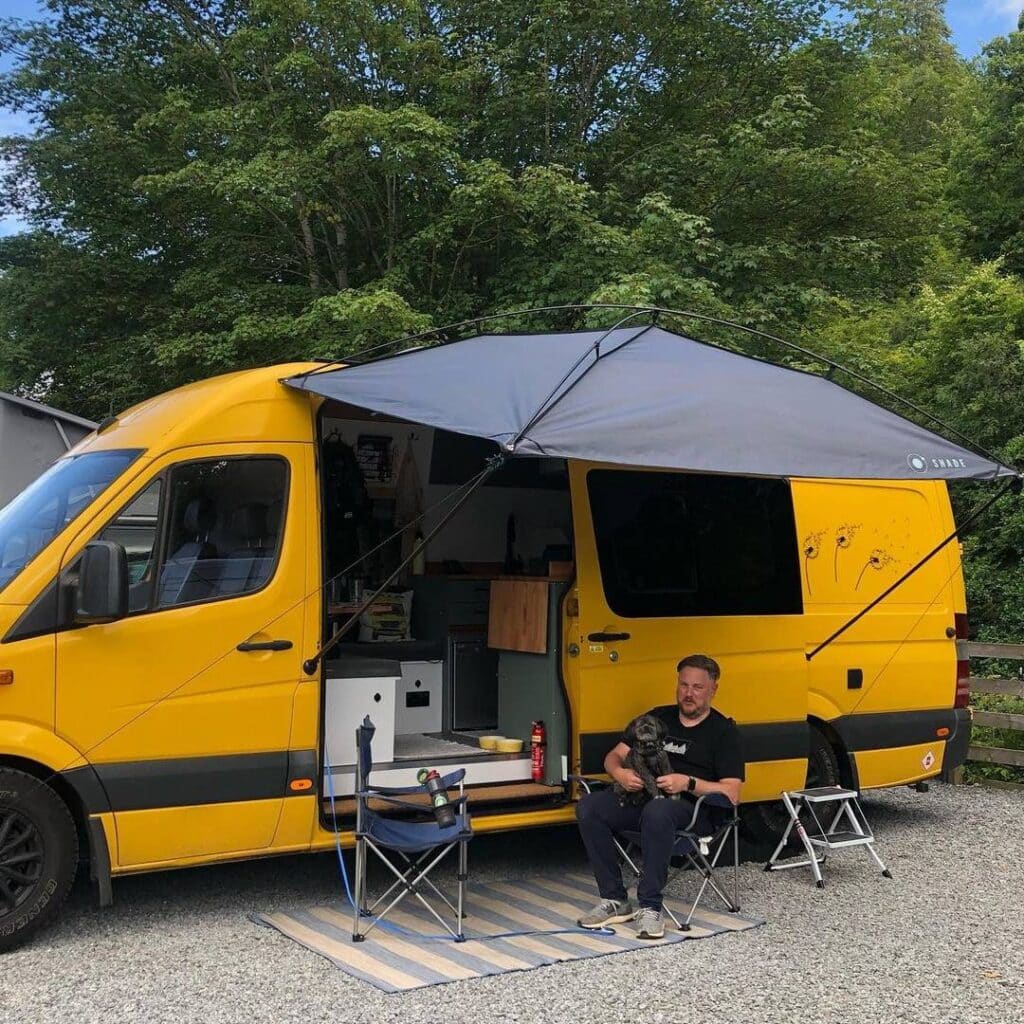
While not an essential vanlife cost, an awning is an excellent way to expand your living space outdoors and makes a BIG difference when it comes to keeping your van cool. By offering shade and rain protection, you can spend more time enjoying fresh air and sweet views of those national parks.
Motorized awnings from companies like Fiamma are attached to your van and deployed with the touch of a button. These can cost around $2000, but for ½ that you can get a roll-out version that uses a hand crank, like the Thule Hide-Away awning.
If your budget is closer to $300-500, there are options in the price range. The ARB 4×4 awning is super sturdy (especially when lightly modified for wind resistance), a staple of campervans everywhere, and costs just above $400. The MoonShade Awning is less sturdy, but it easily attaches to a roof rack and packs up into a storage bag when not in use.
Window Covers
To regulate temperatures and improve privacy, van window covers are ideal. These are often custom-made to fit your windows, although some are available ready-made for more popular vans. A full set of window covers can cost $800-1200, or $100-250 per window depending on size and materials.
You can easily make inexpensive van window covers using Reflectix or Warm Window insulated fabric (about $30/yard) and some magnets or velcro.
Bug Screens
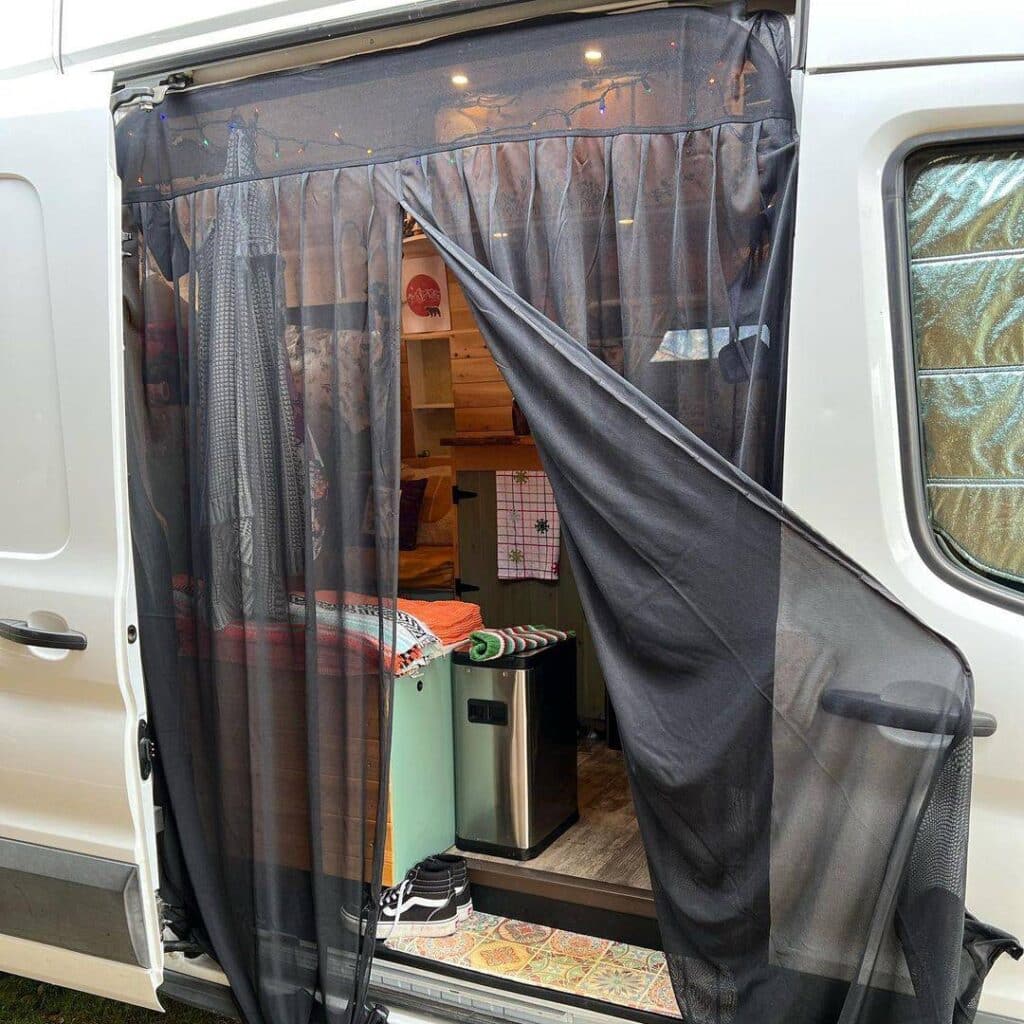
Like window covers, bug screens vastly improve the quality of van life by keeping critters out while improving airflow. Many people pick up sliding door screens from Amazon for $30-$50 and trim them to fit.
You can also buy bug screens made to fit the Ford Transit, Mercedes Sprinter, and other vans from many different companies. These range in price from around $175 to over $400.
Getting it Done: Tools & Labor for Your Campervan Conversion
Having a general idea about the cost of all the components of a van build is one thing. Actually doing the work (or getting it done) is another. You may already have some nice tools or a friend with a workshop. If you don’t, you can rent tools at a hardware store or buy your own.
Buying is smart if you think you’ll use the tools in the future, or if you need them for several days throughout your build. (You can always sell them later.)
For this line item in your van conversion budget, make a list of what you’ll need to acquire, then decide if you want to buy, borrow, or rent. Starting from scratch to build a full workshop could cost as much as $2000.
If you’re frugal, you can probably get away with budgeting as little as $200-$300, especially if you have friends to lean on and don’t mind checking thrift shops, pawn shows, or tag sales to score deals on tools.
Helpful power tools to have include:
- Power Drill / Screwdriver (optionally add an Impact Driver)
- JigSaw or Multi-Tool
- Circular Saw and/or Table Saw
- Orbital Sander and Pad Sander
- Power Caulk Gun (a game changer in my book!)
- Router – not required but nice to have
Basic hand tools for a van build:
- Screw Drivers (Phillips, Standard, Star bit)
- Wrenches or a Ratchet Set (standard and metric sizes)
- Allen Wrenches aka Hex Key set
- Hammer
- Rubber Mallet
- Awl or Punch
- Tape measure (or three)
- Carpenter’s Square
- Metal Ruler
Specialty Tools
- Rivnut or Plus Nut Tool
- Kreg Jig (for making pocket holes)
One final item to include in this category is the labor costs of any jobs you want to outsource. Do you want help building a complex van bed system? Are you not wild about working on your van’s roof? Price out costs in advance if you can, to avoid surprises later. Even if you plan to do everything yourself, it helps to have a contingency budget for additional expenses, just in case.
Outfitting Your Camper Van
As you work through your own build process, you’ll probably start thinking about – or even shopping for – items to outfit your van. If you’re a planner and want to budget for these items in advance, check out our best advice on what to pack in this detailed list of Van Life Essentials.
We love living out of the van while on the road, but we also need it to haul bulky stuff or passengers from time to time. Some built-ins have more utility than others, but all add cost and reduce flexibility for using the rig. There are usually alternatives. We have focused on knock-downs and stowable solutions and have used the van for a variety of activities over the years.